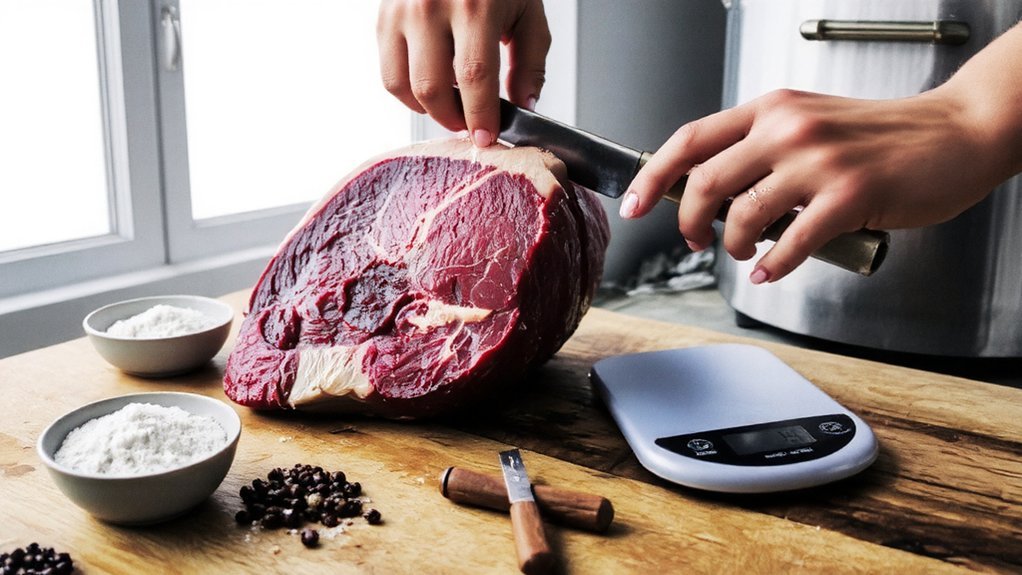
Here’s something you probably don’t know: trimming a brisket is easier when it’s cold, and that one move sets up everything else. You’ll shape it, leave a tidy 1/4-inch fat cap, then hit it with coarse salt and 16-mesh pepper—press, don’t rub. Fire runs steady at 225–250°F, clean smoke rolling blue, wood doing the quiet magic. Sounds simple, right? It is—until the stall hits and your plan meets reality.
Selecting the Right Brisket: Grades, Size, and Anatomy
Maps and meat. You’re picking a brisket like you’re plotting a route to make folks feel seen, fed, and happy. Start with brisket grades: Prime brings rich marbling, juicy slices, and those grateful nods you live for; Choice works great too, budget-friendly, still tender with care. Now, cut selection, don’t overthink it—choose a full packer, point and flat attached, so you control texture and yield. Aim for 12–16 pounds for gatherings, thicker flats mean steadier cooking, fewer dry edges.
Check anatomy: the flat’s lean, long, and slice-ready; the point’s plump, wavy with fat, begging to be chopped or cubed. Feel the bend, you want flexibility, not a stiff board. Look for a creamy fat cap, even thickness, clean edges. You’ve got this.
Tools and Setup: Knives, Boards, and Smoker Basics
First, you’ll want a sharp boning or trimming knife with a flexible blade, plus a sturdy chef’s knife, so you can flick off silver skin, shave fat to a clean quarter-inch, and avoid butchering your knuckles—been there, wore the bandage. Grab a big, steady cutting board that won’t skate across the counter, lay a damp towel underneath, and keep paper towels handy for slippery moments and your dignity. Then set your smoker like a pro: clean grates, steady 225–250°F, thin blue smoke from seasoned wood, vents half-open, and a reliable thermometer, because guessing is how briskets turn into charcoal memoirs.
Essential Trimming Knives
Some tools feel like magic wands, and brisket trimming knives are exactly that. You want clean cuts, safe hands, and meat that cooks evenly, so let’s nail knife selection and trimming techniques. I favor a 6–8 inch curved boning knife for agility, a long slicing knife for squaring edges, and a stout utility for stubborn fat. Grip light, angle shallow, let the blade do the work. You’re not carving marble, you’re stewarding dinner.
| Knife Type | Best Use | Why It Helps |
|---|---|---|
| Curved boning | Silver skin, hard fat | Precision, nimble tip |
| Long slicer | Squaring, long passes | Straight, elegant cuts |
| Utility | Dense knots | Control, confidence |
Keep blades razor-sharp, handles grippy, board steady. Serve your guests by trimming thoughtfully, wasting little, and revealing that rich beef beneath.
Smoker Setup Basics
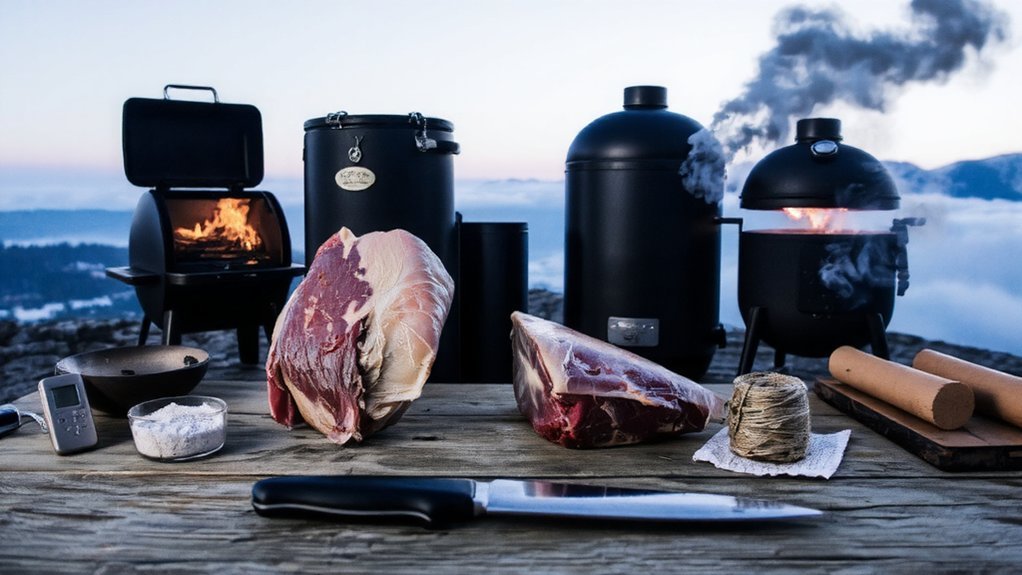
Before that brisket ever meets heat, your smoker needs to feel like home base, tidy, tuned, and ready to hum. I want guests smiling, not waiting, so let’s set you up right. First, pick your lane: smoker types range from offset stick-burners to pellet rigs, kettles, and electrics. Each serves a crowd differently. Check seals, scrape grates, empty ash—clean gear cooks cleaner, tastes kinder.
Now fuel options: hardwood splits for bold bark, lump charcoal for steady heat, pellets for push-button control. Choose wood that matches your mission—oak for balance, hickory for punch, fruit woods for gentle sweetness. Dial vents, set a target of 225–250°F, and stage a water pan for moisture. Preheat fully. Then, stabilize. When that temp holds, you’re ready to serve greatness.
Trimming for Even Cooking and Optimal Bark
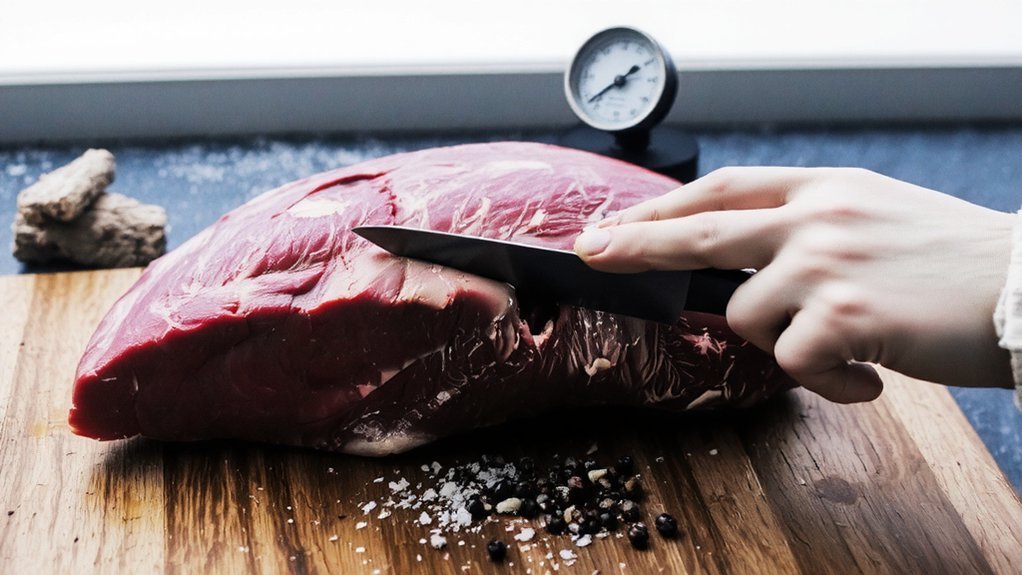
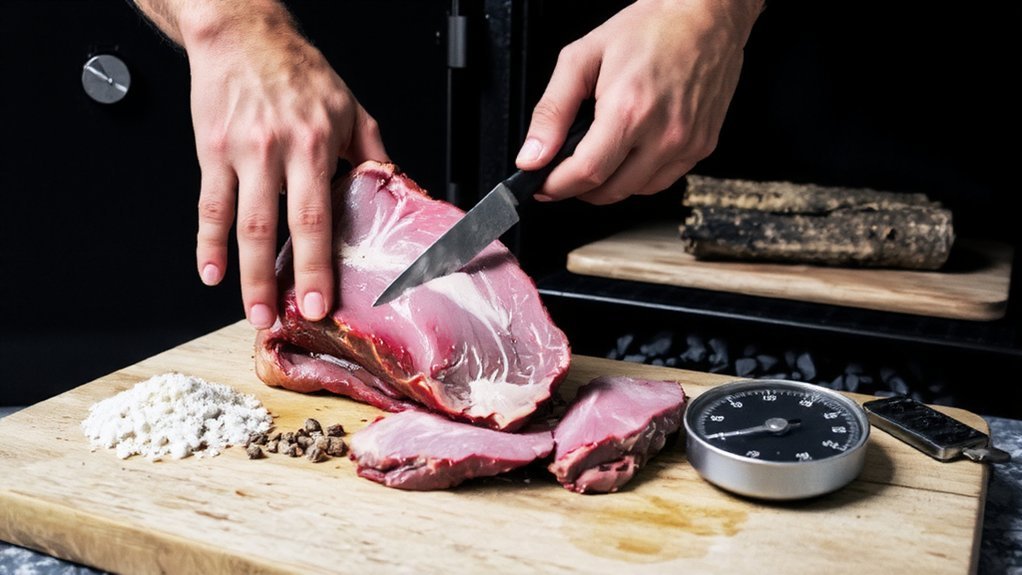
While the brisket’s still cold and firm, I slide it onto the board and square my shoulders like a tiny butcher with big dreams. You and I, we’re here to serve great plates, so let’s use smart trimming techniques that cook evenly and build glorious bark. I map the grain, then chase silver skin with shallow, steady cuts. I shape the flat into a soft rectangle, tidy the point, and clear airflow paths so smoke hugs every edge.
- Leave a 1/4-inch fat cap—enough to baste, not enough to block bark.
- Remove hard, waxy fat; it won’t render, it just sulks and steals heat.
- Round sharp corners; they dry out first, then blame you.
Flip, feel, trim again. Clean edges, even thickness, confident pace. You’ve got this, and your guests will taste it.
Seasoning Strategies: Salt, Pepper, and Supporting Flavors
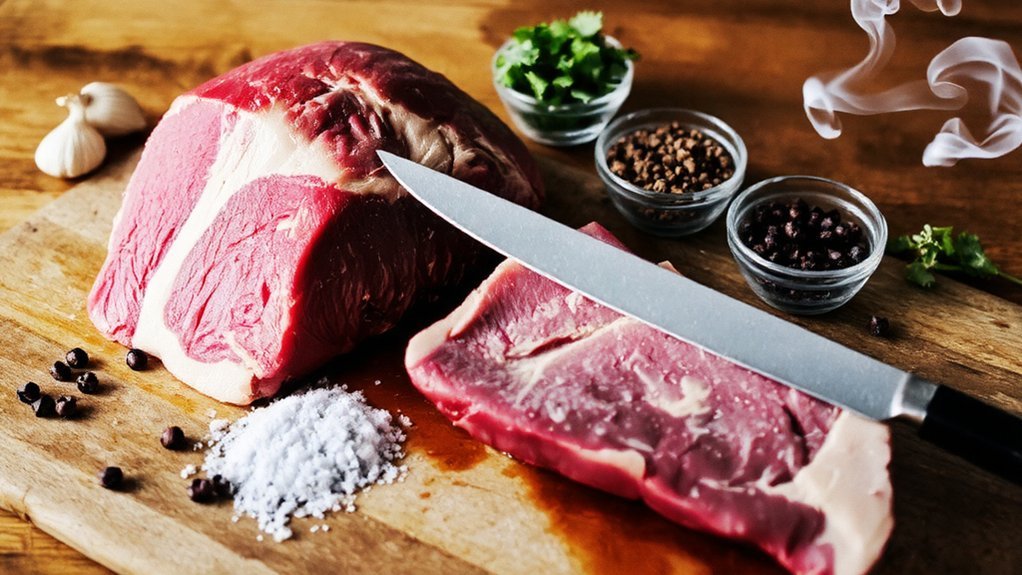
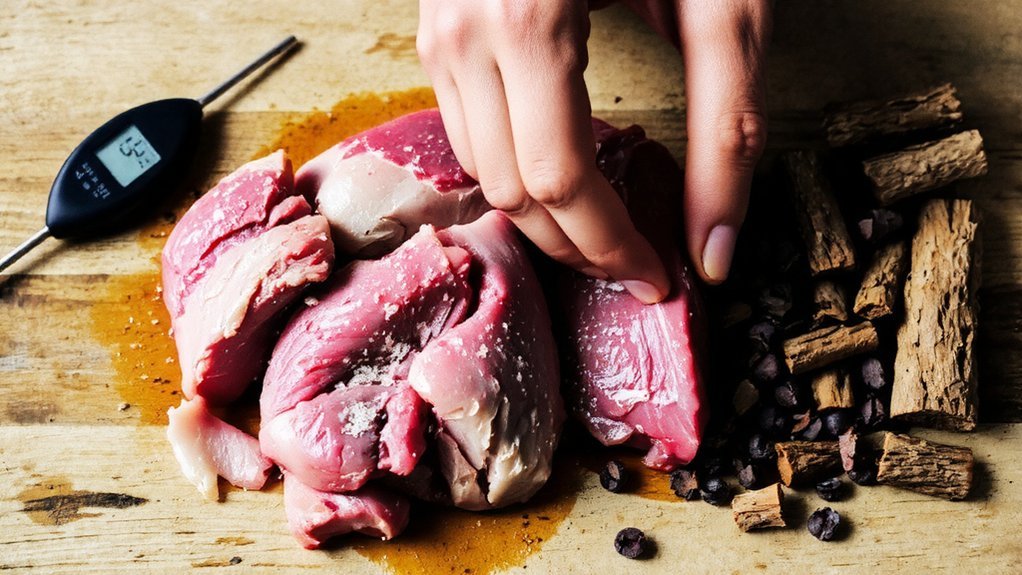
Edges clean, fat cap set—now we wake this brisket up with salt, pepper, and a few ringer flavors. You’ll season like you mean it: coarse kosher salt for deep savor, 16-mesh black pepper for that snappy bite. I go 1:1, then add quiet helpers—garlic, onion, a whisper of paprika. Think generosity, not smothering. We’re building confidence, and bark.
Here’s your quick map:
| Element | Purpose | Notes |
|---|---|---|
| Salt | Draws moisture, boosts savor | Kosher, wide flakes, even coverage |
| Pepper | Heat, aroma, texture | 16-mesh, freshly cracked |
| Aromatics | Roundness, depth | Garlic, onion, celery seed |
| Sweet/Umami | Balance, flavor infusion | Paprika, coffee, soy powder |
Use gentle dry rubs techniques: press, don’t rub; rest 20–30 minutes. Aim for even, humble, generous—because you’re cooking to serve.
Fire and Smoke Management Across Different Pits
Even if you’ve nailed the rub, the brisket lives or dies by your fire, so let’s steer the flame like a pro. You’re feeding people you care about, so treat fire management like hospitality with sparks. On an offset, burn clean splits, tip-to-tail. Wait for thin blue, not billowing white. On a kettle, bank coals, add wood chunks sparingly, and keep those vents whispering, not wheezing. With pellets, trust steady auger rhythm, but still listen for clean combustion, no campfire cough.
- Choose wood with purpose: oak for backbone, pecan for warmth, fruitwood for polite sweetness—distinct smoke profiles, harmonious plates.
- Manage airflow like a dimmer switch; tiny vent nudges, big flavor swings.
- Add fuel small and often; avoid smothering, dodge bitter soot.
The Cook: Temps, Timing, and Stall Navigation
You’ll lock in your target temps first—steady 250–275°F at the pit, then watch the meat glide from glossy ruby to mahogany as it climbs toward that 200–205°F finishing zone. Then the stall hits, moisture sweats, bark firms, and you mutter, “Really?” while I suggest either riding it out or wrapping tight in butcher paper to power through. Keep your probe sliding in like warm butter, rest it till the juices calm down, and you’ll plate slices that whisper, thank you.
Optimal Temperature Targets
Two numbers rule brisket country: pit temp and internal temp, and we’re going to babysit both like a hawk with a stopwatch. For peak cooking, lock your pit at 250°F, steady, calm, unwavering. That sweet spot renders fat, keeps bark honest, and protects your timeline. I’ll say it plain: wobble less, serve better.
- Hold pit at 250°F; brief swings are fine, wild rides aren’t.
- Probe the flat, thick center; you’re aiming for target temperatures, not guesses.
- Calibrate thermometers; generosity starts with accuracy.
You’ll track internal temp like it’s the guest of honor. Cruise past 160°F, keep your cool, then ride toward 200–205°F. Now, don’t rush the finish. Use a probe; when it slides in like warm butter, you’re there. Tender wins, bragging rights included.
Managing the Stall
While the smoke rolls and the bark goes from shy to swagger, the brisket hits the stall—humidity’s little prank at around 155–170°F—where the temp plateaus, sweat evaporates, and your nerves get tested. I’ve been there, pacing like a waiter with cold coffee. Breathe. Your mission is service, not panic.
Here’s stall management that respects the meat, and your guests’ hunger. Hold 225–250°F, steady smoke, thin blue, not billowing white. Mist lightly if edges dry, don’t drown it. When the bark looks set—mahogany, firm, gritty—wrap tight: butcher paper for breath, foil for speed. That’s stall solutions in two flavors.
Probe tenderness, not numbers. Vent the pit quickly, then close, keep your rhythm. Rest that beauty, wrapped, in a warm cooler. Serve slices like hugs.
Wrapping Methods: Paper vs. Foil and When to Use Them

Because brisket takes its sweet time, the wrap you choose—peach paper or foil—can make or break that bark you’ve been babysitting. I’ll shoot you straight: both work, just not the same way. Think like a pit boss who loves feeding people well, fast, and with pride.
- Paper wrap benefits: breathable, keeps that peppery crust crackly, lets smoke kiss the meat longer, slows the stall without steaming it to death.
- Foil wrap advantages: locks in moisture, speeds cooking when the crowd’s hungry, rescues a drying flat like a hero in shiny pajamas.
- When to switch: wrap at 165–175°F, when bark’s set, fat renders, and juices glisten.
I’ll use paper for texture-driven cooks, foil for time-crunched service, and—hey—no shame mixing tactics mid-cook.
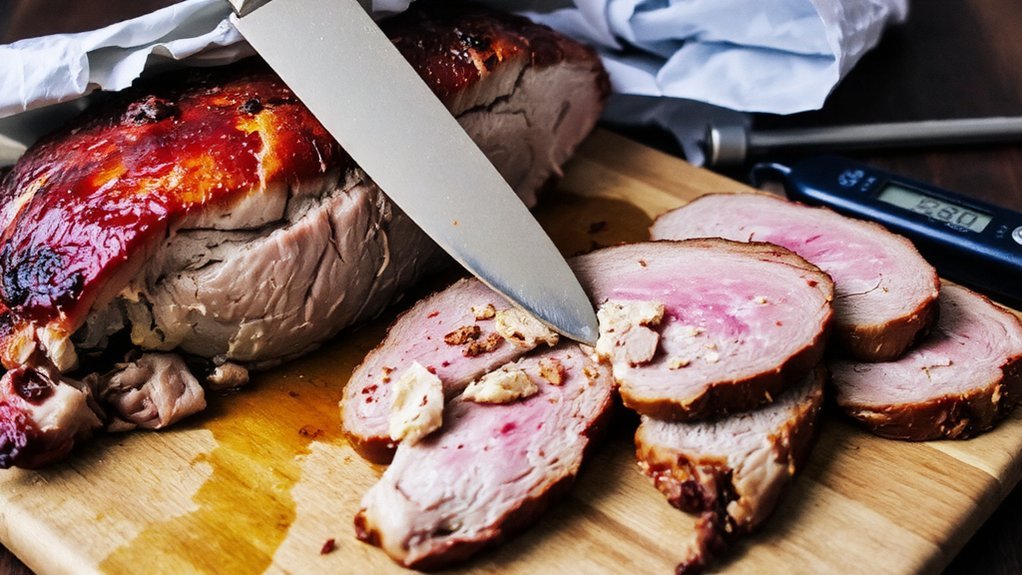
Resting, Slicing, and Serving for Peak Tenderness
Soon as that brisket hits temp and the bark looks like dark mahogany armor, you don’t slice—you let it chill out, wrapped and cozy, so the juices calm down and stay put. I’m bossy because I care. Use resting techniques that honor your guests: hold it in a towel-lined cooler, vent five minutes first, then rest 1–2 hours. Now, knife time. Choose a long, sharp slicer, not your tired chef’s knife. Separate point from flat, rotate to find the grain, then use slicing methods that go against it. Quarter-inch for the flat, thicker for the juicy point. If a slice bends like a smile and barely tears, you nailed it. Serving suggestions? Warm plates, soft buns, simple pickles, clean salt. Tenderness tips: slice only what you’ll serve.