Most folks don’t know brisket has two personalities—the lean flat and the juicy point—and you’ll treat them a little differently. You’ll pick a well-marbled slab, trim it so the fat’s helpful not bossy, shower it with salt and pepper, then keep the heat low and stubbornly steady. I’ll show you how to spot doneness without guesswork, tame the stall, and slice like a pro. Ready to turn tough into tender, and backyard into bragging rights?
Choosing the Right Cut and Grade
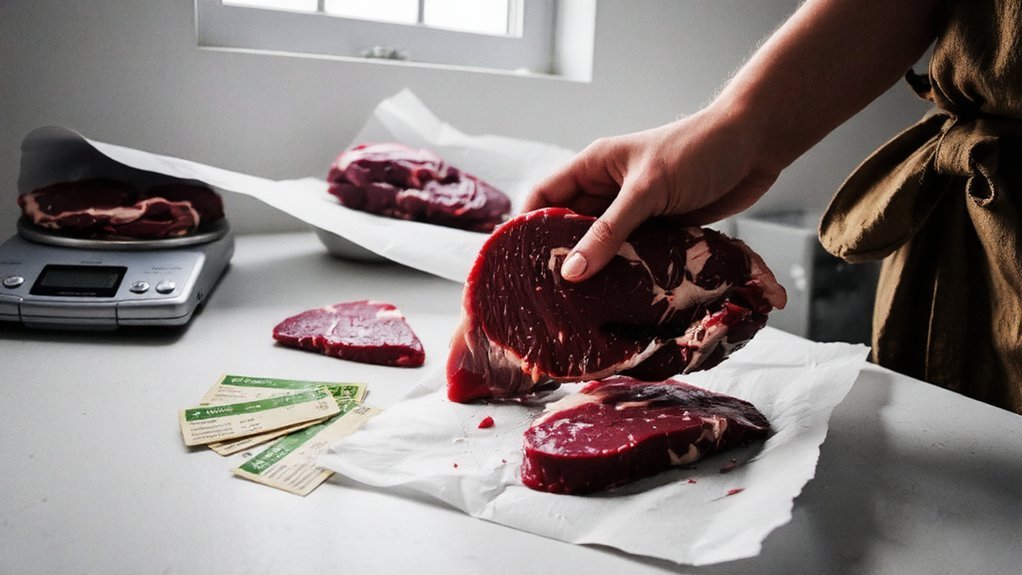
Butcher’s bingo, that’s what the brisket aisle feels like—so let’s stack the deck. You’re cooking to care for people, so start with cut selection: whole packer if you’re feeding a crowd, flat-only if you want tidy slices for plates and sandwiches. I’m team packer, fat cap on, about a quarter-inch thick. Now, grade comparison: Prime brings buttery marbling, juicy bites, and forgiveness; Choice is reliable, kinder on the budget, still tender if you mind the temp; Select, well, it demands patience and a prayer.
Pick a brisket that bends easily, like a friendly handshake. Look for creamy white fat, tight grain, and a uniform thickness. Talk to your butcher, smile, ask for fresh stock. You’re choosing joy, not just meat.
Trimming and Prepping the Brisket
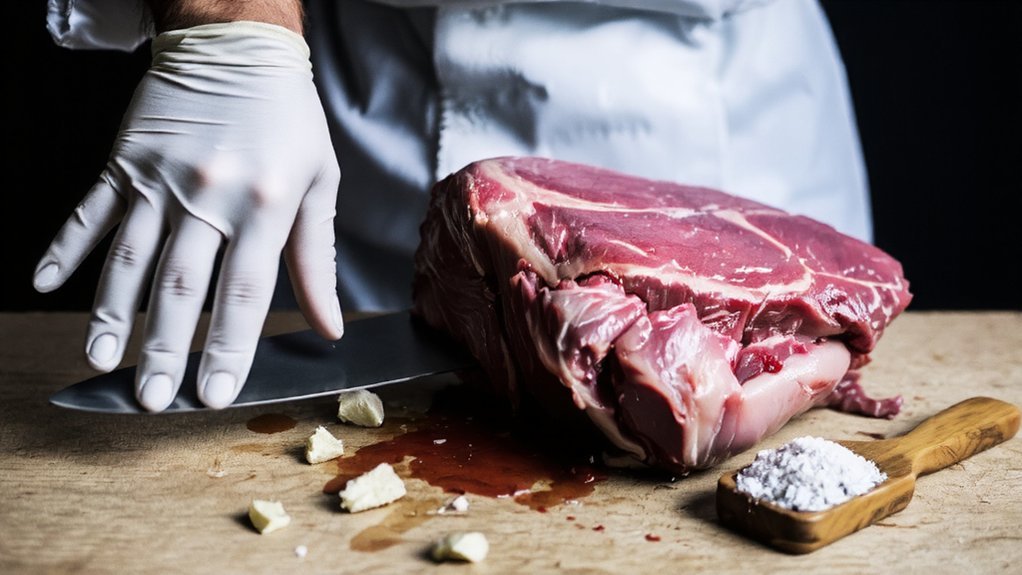
Two knives, one mission: turn that hulking brisket into a sleek, cook-ready beauty. Grab your prepping tools—boning knife, slicing knife, cutting board that doesn’t slip—and let’s serve folks well, starting now. I’ll talk, you’ll trim. First, pat it dry, feel for hard fat and silver skin. That waxy cap? Leave about a quarter inch for protection, ditch the rest. Swing the flat toward you, find the deckle, carve out dense pockets that never render. Flip, breathe, keep it tidy.
1) Map the muscle: trace the seam between point and flat, use gentle strokes, let the knife do the work—clean lines, minimal waste.
2) Trim for airflow: round corners, even thickness, steady cooking, prettier slices.
3) Square the edges: remove strays, expose meat, master your trimming techniques.
Simple Seasoning and Rub Options
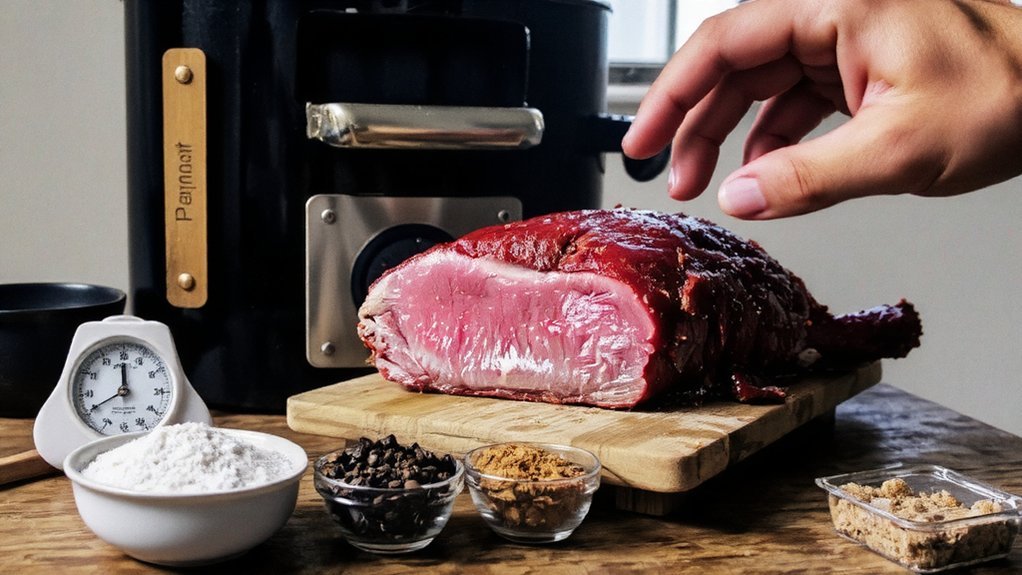
While the smoker warms up and that trimmed beauty lounges on the board, let’s talk salt, pepper, and just enough swagger to make your brisket sing. Start simple: kosher salt and coarse black pepper, a 1:1 shake, generous, even, like you actually care. That’s your servant’s heart in seasoning form—honest, dependable, crowd-pleasing.
Now, add character. Want warmth? Stir in paprika and a whisper of garlic powder. Need a kick for the bold folks at your table? Spicy rubs with cayenne, chipotle, or cracked red pepper deliver. Craving garden-fresh notes? Herb blends—thyme, oregano, a pinch of rosemary—bring lift without noise.
Pat it on, don’t rub hard, we’re not polishing silver. Let it rest, edges tacky, aromas blooming, confidence rising.
Cooking Methods: Oven, Smoker, and Slow Cooker
Season’s on, bark dreams locked in—now we pick the heat that turns that rub into thunder. You’ve got three friendly lanes: oven, smoker, slow cooker. Different rides, same destination—tender slices that make folks feel cared for. I’ll steer, you drive.
1) Oven: Set an even oven temperature, steady and calm. Use a roasting rack, pan juices below. Foil is your safety net for moisture. It’s reliable, perfect when guests expect punctuality.
2) Smoker: Dial in a clean-fire smoker setup—good airflow, thin blue smoke. Wood choice sets the mood: oak for balance, cherry for glow. Let that bark bloom, then relax.
3) Slow cooker: Low, covered, unfussy. Sear first for flavor, nestle onions underneath, a splash of broth. It’s hands-off hospitality, weekday-friendly, crowd-pleasing.
Time, Temperature, and Doneness Cues
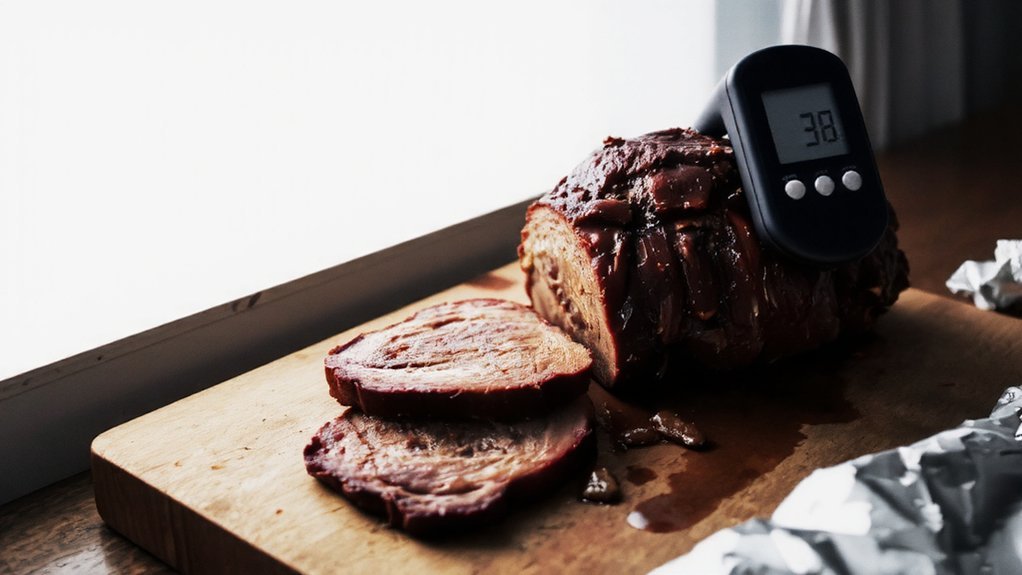
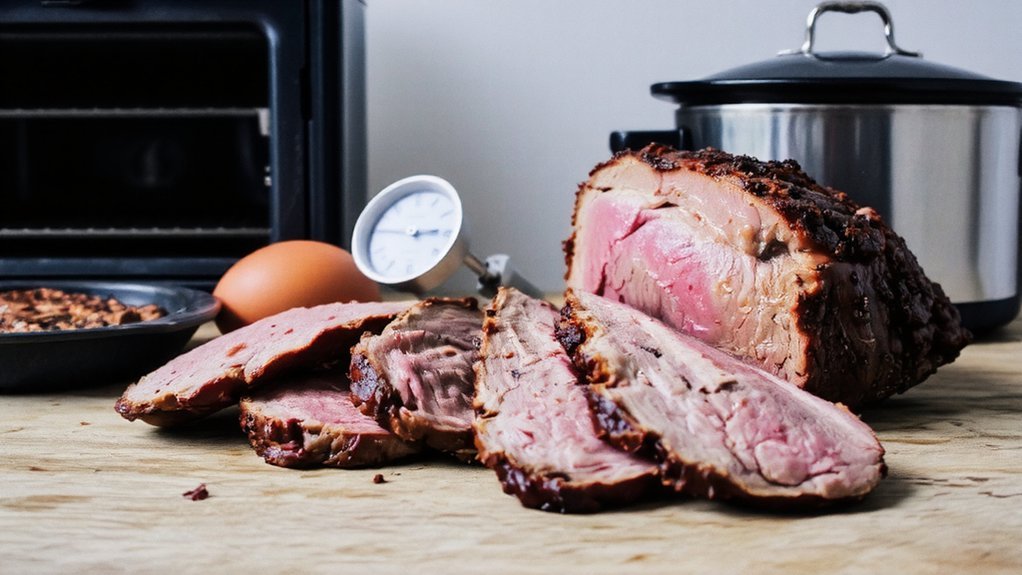
You’ll nail brisket when you track two things: ideal temps and what your eyes and fingers tell you. Keep the pit steady around 225–250°F, cook until the meat hits 195–205°F internal, then poke it—your probe should slide in like warm butter, no eyebrow raise. Look for a dark, barky crust, juices that run clear and glossy, and slices that bend, not break; trust me, your senses won’t lie, mine just get hungry.
Ideal Cooking Temps
Two numbers rule brisket bliss: time and temperature. You’re cooking low and slow to honor the crowd you’re feeding, and yes, I’m watching the clock so you don’t have to. Aim for a steady 225–250°F cooker temp; it’s forgiving, flavorful, and friendly to first-timers. Your ideal internal target lands between 200–205°F, where collagen melts, juices glisten, and slices sigh. Want a perfect crust? Keep airflow steady, don’t rush the bark, and let fat whisper, not shout.
1) Smoker temp: Hold 225–250°F. Adjust vents in tiny nudges, like turning down the choir, not silencing it.
2) Stall strategy: At 150–170°F internal, wrap in butcher paper to power through, keep bark breathing.
3) Finish line: At 200–205°F, probe for butter-like glide, then rest, still wrapped, 1–2 hours.
Visual Doneness Signs
Although the thermometer’s your truth teller, your eyes and tongs seal the deal. You’re cooking to serve joy, not guesses, so read the meat like a pro. Watch color changes: bark turns mahogany, fat goes glassy, the smoke ring blushes pink. Do a texture evaluation with tongs—lift the flat, it should bend softly, not stiff like a board, not limp like a noodle. Probe like warm butter. Hear that? Quiet sizzle, not angry hiss.
| Cue | What you see/feel | Action |
|---|---|---|
| Bark | Deep mahogany, matte | Stay the course |
| Fat | Translucent, quivery | Almost there |
| Bend test | Soft arc, slight crack | Check temp |
| Probe | Slides in effortlessly | Rest it |
| Juices | Clear, not bloody | Slice and serve |
You’ve got this, hospitality hero.
Resting, Slicing, and Serving Tips

Patience, the unsung spice, does its best work right now. You’ve earned this pause. Use smart resting techniques: tent the brisket loosely with foil, park it in a dry, warm spot, let juices settle like good guests finding seats. Ten to sixty minutes, depending on size. I know, the aroma’s bossy. We still wait.
Patience is the final spice: tent, rest warm, let juices settle. Wait, then win.
Now, slicing methods, because service matters. Separate point from flat, find the grain, then cut across it. Long, smooth strokes, a sharp slicing knife, quarter-inch slices for guests, thicker for sandwiches. Keep a warm jus nearby, brush slices so they glisten.
- Hold the brisket with a gloved hand; steady beats messy.
- Rotate sections as the grain shifts; don’t guess, check.
- Plate hot, garnish bright, serve with calm confidence.