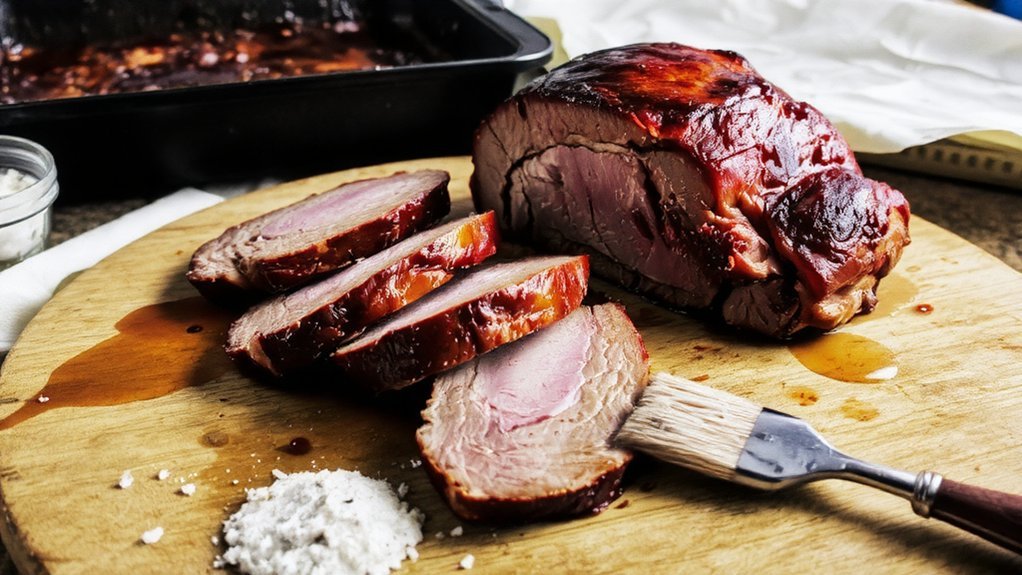
You want brisket that’s tender, juicy, and zero drama? I’ve got you. We’ll rub a well-marbled slab with bold spices, tuck it in the oven low and slow, then let steam do the babysitting. The fat renders, the bark turns smoky-sweet, and your kitchen smells like you own a barbecue joint. I’ll show you the cut to buy, the rub to trust, and the moment to slice. Ready to make your oven your pit master?
Why This Oven-Baked Brisket Works
Because patience tastes better than panic, this oven-baked brisket works by letting low heat and time do the heavy lifting. You season boldly, tuck it in, and let gentle heat loosen tough fibers until they sigh. That’s the heart of brisket history: humble cuts transformed by steady hands and slow fire, made to feed a crowd with love, not theatrics.
Here’s why it sings. Dry rub builds a savory crust, then covered roasting traps steam, basting from within. Fat renders, juices mingle, the kitchen smells like Sunday kindness. These cooking techniques—sear, slow roast, rest—deliver slices that hold shape yet melt on the tongue. You slice across the grain, serve warm, listen for the table’s hush, then the grateful chorus. Nailed it.
Choosing the Best Cut of Brisket
Some choices feel dramatic, but brisket doesn’t have to be one of them. You’re picking between point, flat, or whole packer. Easy. For oven-baked bliss, choose a whole packer if you’re feeding a crowd; it’s balanced—meaty flat, juicy point. If you want neat slices for plates you’ll proudly carry to the table, go flat, trimmed but not skinny. Check marbling like you check smiles—honest and generous.
Brisket isn’t drama: choose point, flat, or whole packer. Marbling matters; trim, don’t skimp.
Look at brisket grades: Prime for plush fat, Choice for value, Select only if you’re patient. Match cut to cooking methods—low, slow, and kind.
- Choose a whole packer for balance.
- Pick a flat for tidy, sliceable servings.
- Favor visible marbling, avoid thin ends.
- Go Prime or Choice for tenderness.
- Buy enough: 3/4 pound per person.
Essential Ingredients and Simple Rub
Spice cabinet, meet brisket. You’re about to make people feel seen, fed, and a little bit speechless. Grab kosher salt, cracked black pepper, smoked paprika, garlic powder, onion powder, brown sugar, and a whisper of cayenne. I like a pinch of mustard powder too—bright, clean, bossy in the best way. Pat the meat dry, then shower it with the rub, edge to edge, like you mean it.
Want bigger vibes? Brisket marinades help—soy, Worcestershire, apple cider vinegar, and a touch of honey. Marinate overnight if you’ve got time; if not, the dry rub still delivers. Try seasoning variations: chipotle-cocoa for smoky depth, rosemary-lemon for herb lovers, or espresso-brown sugar for drama. Your goal’s simple—balanced salt, sweet, heat, and aroma. Guests pause, smile, then pass plates.
Equipment You’ll Need
You’ll want a sturdy roasting pan, a snug sheet of heavy-duty foil, and a wire rack, so the brisket sits proud and the fat renders like butter. Grab a sharp carving knife, tongs with some grip, and yes, a cutting board that doesn’t skate across the counter—I’ve chased one, it wasn’t cute. Round it out with an instant‑read thermometer and a reliable timer, because guessing doneness is how brisket turns into sadness.
Essential Baking Tools
Before we crank the oven, let’s gear up like brisket pros. You’re cooking to bless a table, not wrestle chaos, so choose tools that make generosity easy. Grab sturdy roasting pans for steady heat and easy drippings. Line baking sheets with foil to corral rub fallout, because messes don’t feed anyone. A wire rack elevates the brisket, lets fat render, and keeps bark crisp. Heavy-duty foil seals in steam; parchment prevents sticky drama. I’ll bring the jokes; you bring the gear.
- Choose deep roasting pans, catch every savory drip for sauce-worthy moments.
- Sturdy baking sheets, lined and loyal, keep your station clean.
- A wire rack, small lift, huge payoff.
- Heavy-duty foil, tight seal, tender results.
- Parchment sheets, smooth release, zero stick.
Thermometers and Timers
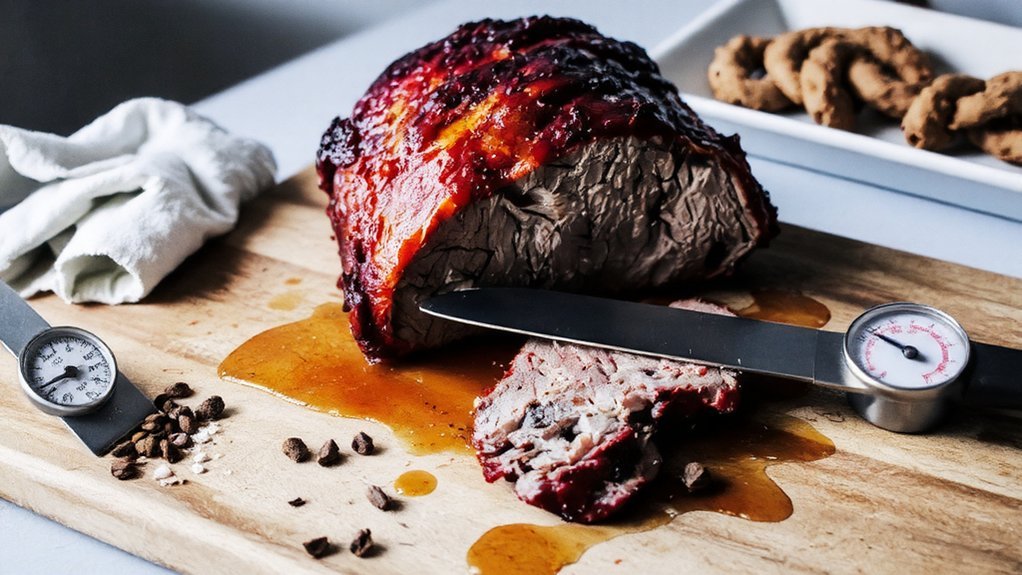
Gear’s set, pans ready, now let’s talk the tiny gadgets that save brisket glory: thermometers and timers. You’re cooking for people you care about, so precision matters, and yes, I’m bossy about it. Grab digital thermometers—one instant-read for quick checks, one leave-in probe for the long haul. Slide that probe into the thickest part, not fat, not touching bone. You’re aiming for 195–203°F, where collagen melts, juices shimmer, and the kitchen smells like Sunday promises.
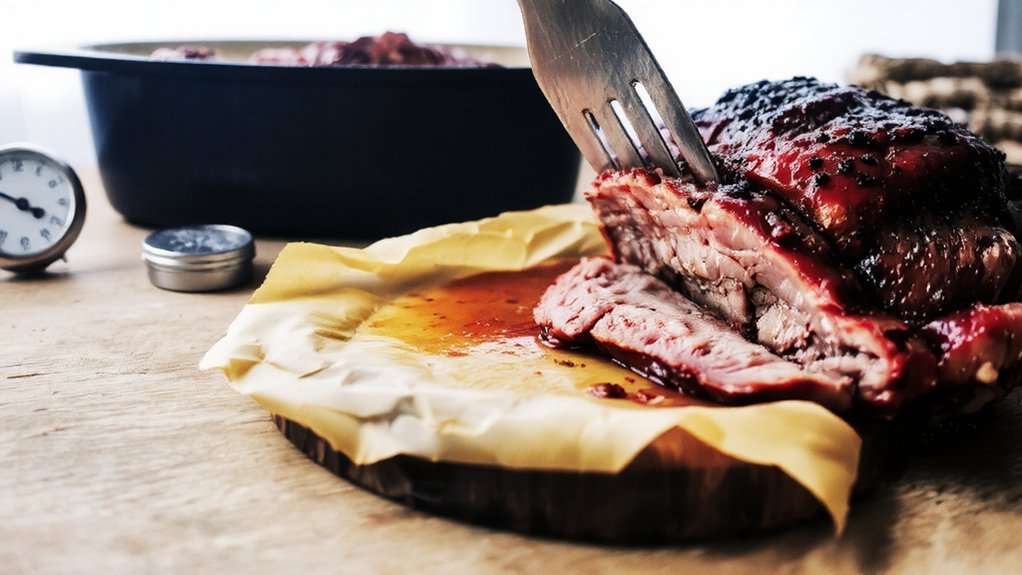
Now, kitchen timers. Set one for spritz breaks, one for foil wrap, one for rest time, because rest equals tenderness. I double up timers, just in case I wander off “helping.” Beeps go off, you glide back, cool as a maître d’. Guests feel cared for, brisket sings.
Step-by-Step: Seasoning and Resting

First, you’ll choose a dry rub that smells bold and toasty—think coarse salt, cracked black pepper, smoky paprika, a little garlic, maybe a whisper of cayenne; I’ll nudge, you measure. Aim for a salt-to-spice ratio around 1:2, so the salt does the heavy lifting while the spices sing backup, not Broadway solo. Then coat every nook, wrap it up, and rest it cold for 8–24 hours, letting the spices bloom, before bringing it to room temp for 45–60 minutes—no shivering brisket goes into my oven.
Choosing the Dry Rub
Confession: I judge brisket by its rub, like a movie by its trailer—bold, honest, and a little mysterious. You’re cooking for people you care about, so let’s make your spice selection sing. Start with a base of warm aromatics—paprika for color, garlic and onion for swagger, black pepper for lift. Then choose a signature note: smoky chipotle, bright coriander, or earthy cumin. Smell the mix, pinch and taste, chase flavor balance, not chaos. If it smells like a hug, you’re close.
- Aim for warm, savory, a spark of heat, a hint of sweet.
- Pick spices you can pronounce and trust.
- Toast whole spices, wake up the oils.
- Grind fresh, keep it vivid.
- Mix, rest, then commit generously.
Salt-To-Spice Ratio
While the rub brings personality, salt does the actual heavy lifting—pulling moisture, dissolving proteins, and helping crusts crisp like a drumline. Here’s the play: aim for steady salt levels first, then tune the spice balance. I treat kosher salt as the foundation, about 1 teaspoon per pound of brisket, evenly sprinkled, edge to edge. Now, layer flavor: black pepper for bite, paprika for color, garlic and onion for savory swagger, a touch of cayenne if your crowd smiles at heat.
Rub it in, literally, pressing so crystals cling. You’re seasoning for them, not just you, so think harmony, not fireworks. Smell the pepper, feel the grit, listen for that sandy drag. If it tastes balanced on your fingertip, it’ll sing on the slice.
Resting Time and Temp
Spice game locked in? Good. Now let that brisket rest before it meets the oven. You’re not slacking—you’re letting salt and spices melt into the meat, drawing in flavor, relaxing fibers, and setting you up to serve joy on a plate. Aim for a resting duration of 30–60 minutes at a cool room resting temperature, about 68–72°F. If your kitchen’s warm, tuck it in the fridge for the first half, then finish on the counter. I know, patience—my old nemesis.
- Keep it uncovered; you want the rub to cling, not sweat.
- Place on a rack, juices drip, bark builds.
- Paper-towel pat if moisture beads.
- Sniff, feel, listen—aroma deepens, surface tacky.
- Smile—you’re seasoning with time, not just spice.
Step-by-Step: Low-and-Slow Baking Method
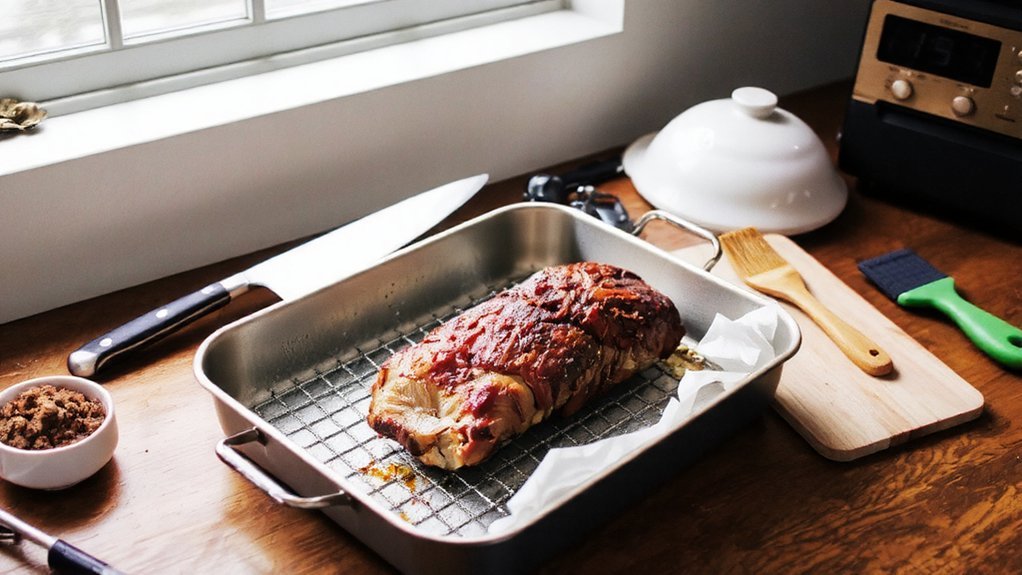
Because brisket rewards patience like few things do, we’re going low and slow, and we’re doing it right. You’ll start the night before, whisking one of your favorite brisket marinades—salty, sweet, a little smoky—then coating every nook, tucking the slab in the fridge. Next day, pull it out, let it lose the chill. I’ll preheat to 275°F, you’ll pat it dry, season boldly, then nestle it fat-side up in a snug roasting pan.
Add a splash of stock, foil it tight, edges crimped like a well-wrapped gift. Into the oven it goes. Now, cooking times: figure roughly 60–75 minutes per pound, steady and gentle. About halfway, baste with those drippings, re-cover, keep cruising. When the kitchen smells like a deli and Sunday supper had a baby, you’re close.
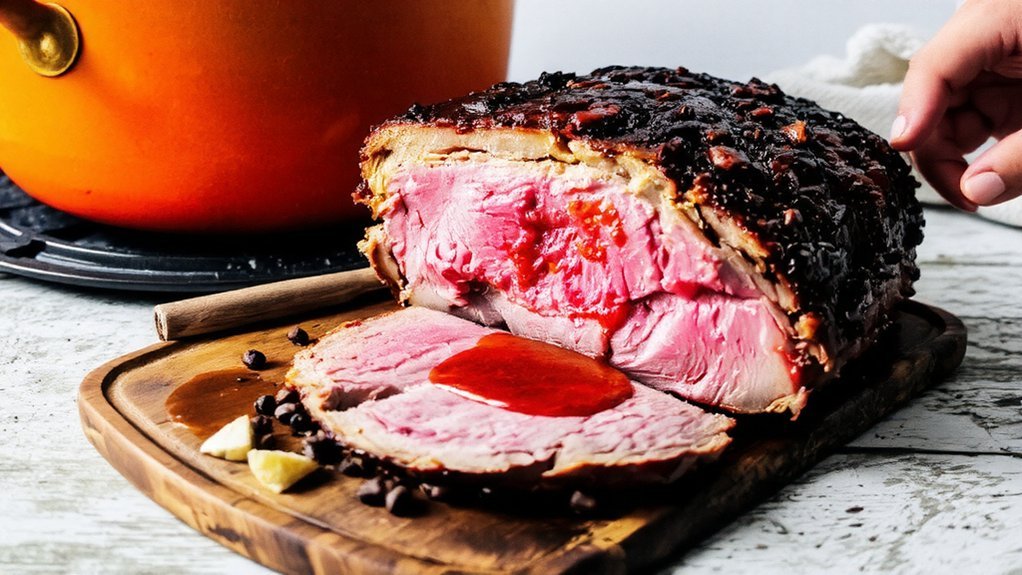
How to Tell When Brisket Is Done
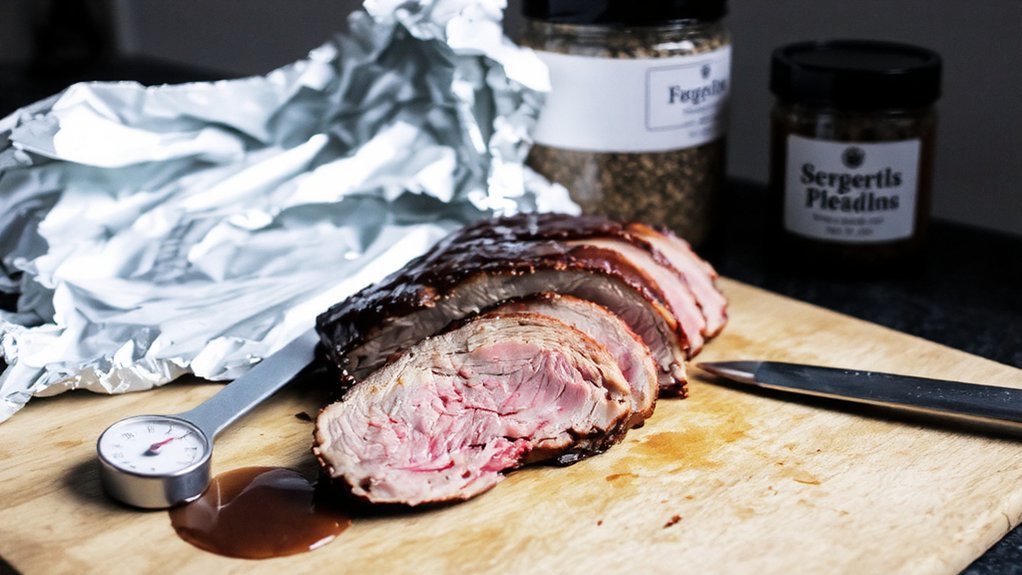
You’ll know brisket’s ready when the thermometer hits the sweet spot—about 200–205°F in the thickest part, no bone, no guesswork, just numbers. Then you poke it with a probe or skewer; if it slides in like warm butter, you nod, you grin, you’re the boss. Pull it out, tent with foil, and let carryover heat finish the job while juices settle down—patience here turns good into glorious.
Internal Temperature Cues
When, exactly, does that slab of brisket cross from tough to tender? You watch the internal temperature. It’s your north star, your quiet hero. I use a reliable digital probe and track the climb: collagen melts in the 195–205°F window. Below 190°F, it’s chewy, like a lecture on taxes. At 200°F, it loosens, juices sighing, fat shimmering. Don’t rush; steady heat and patient cooking techniques turn service into a small act of love. Check the thickest part, avoid big seams of fat, and keep the oven door shut—heat loss slows everything, trust me, I’ve learned the hard way.
- Aim for 195–205°F for tender slices.
- Verify in multiple spots.
- Rest 30–60 minutes, stillness matters.
- Track gradual rise, not spikes.
- Let purpose guide patience.
Probe Tenderness Test
How do you know it’s truly done? You don’t guess, you glide. Grab a probe—any of the common probe types work: instant‑read thermometer, thin skewer, even a toothpick in a pinch. Slide it into the flat, across the grain, in a few spots. You’re hunting tenderness indicators, not numbers. It should slip in like warm butter, no squeak, no bounce, no fight. If it tugs or feels grainy, it’s not ready.
Aim for several test points: thick end, thin end, center seam. Wipe the tip, test again, keep your touch gentle. Listen to the feel—yes, that’s a thing. Silky in, silky out. When the probe falls through with barely a whisper, you’ve got it. Serve-ready magic, earned by patience, confirmed by feel.
Resting and Carryover
Although it feels heroic to slice right away, the real flex is letting that brisket rest and ride the carryover. Pull it when it’s probe-tender, usually around 200–205°F, then park it on a board, tented loosely with foil. Carryover cooking nudges the temp a few degrees higher, finishing the job without drying it out. I know, the aroma screams “now,” but wait 30–60 minutes. Juices redistribute, bark softens just enough, and slices cut like velvet. You’re not stalling—you’re serving better.
- Target 203°F, then trust carryover cooking to land the sweet spot.
- Rest 30–60 minutes, wrapped loosely, not sealed tight.
- Keep the drip juices; they’re liquid gold for slicing.
- Slice against the grain, thin and patient.
- Resting benefits: moisture, tenderness, generosity.
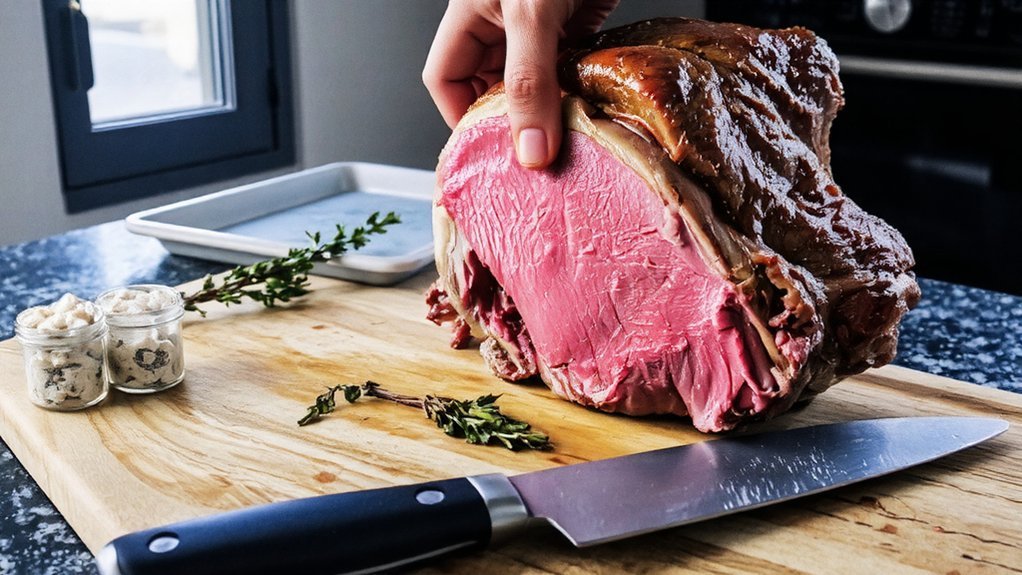
Resting, Slicing, and Serving Tips
Before you grab a knife like a hero in a barbecue movie, park that brisket and let it rest, tented loosely with foil, so the juices calm down and stay put. Give it 20 to 30 minutes on a warm counter. You’re not stalling, you’re protecting tenderness for your guests.
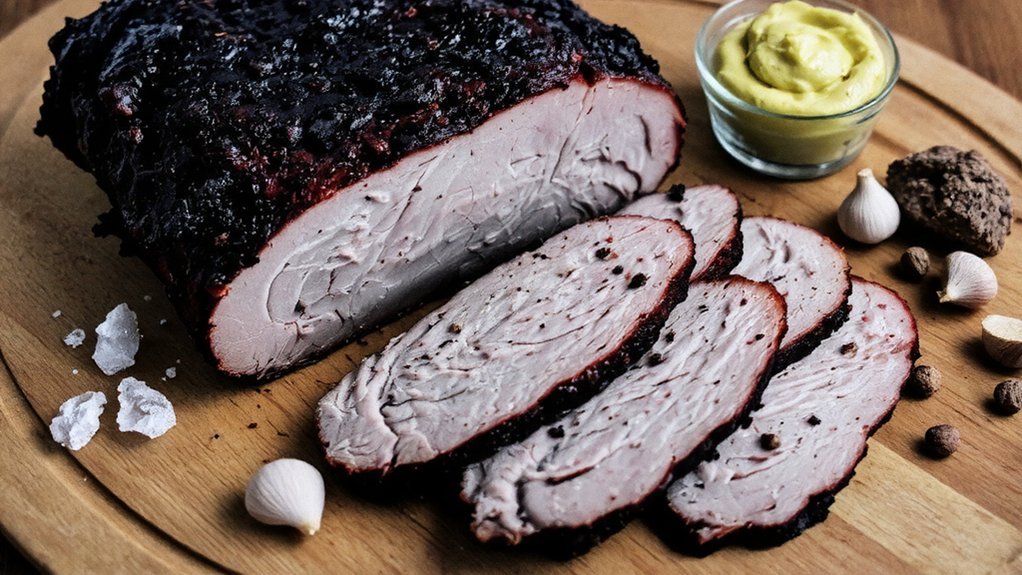
Now, slicing technique: find the grain, then turn the flat so your knife cuts across it, not with it. Slice the flat into pencil-thick pieces, smooth strokes, long knife, no sawing. When you hit the point, rotate again—the grain shifts—then cut slightly thicker slices for that rich, fatty bite.
Arrange slices in neat shingled rows, glistening, steam curling. Offer warm platters, tongs, napkins, smiles. My favorite serving suggestions? Serve the lean first, then the luscious. Everyone wins.
Sauce, Sides, and Storage Ideas
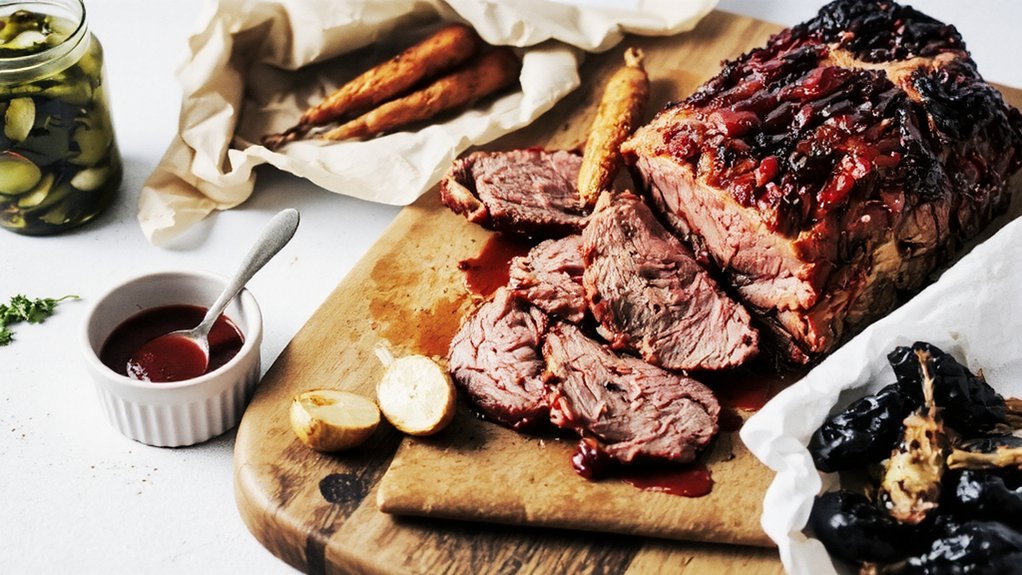
When that brisket hits the board and your guests start hovering like seagulls, you need a game plan: sauce, sides, and how to stash the leftovers without turning them into leather. Let’s talk sauce variations first—tangy vinegar mop, smoky chipotle, honey-mustard glaze, or a black-pepper jus. Mix and match flavor pairings, keep it bright, never cloying. For side dishes, go generous: creamy mash, garlicky green beans, charred corn salad, pickles for snap, warm rolls for sopping. Now, storage tips: slice only what you’ll serve, cool fast, nestle meat in its juices, then seal tight. Fridge, four days; freezer, three months. Reheat gently with added liquid, covered, patient.
- Serve to bless, not impress
- Balance richness with brightness
- Build contrast, color, crunch
- Save juices, save flavor
- Label, date, and share generously
Troubleshooting Dry or Tough Brisket
Despite your best rub and a prayer to the barbecue gods, brisket can still come out dry or chewier than a boot, and I’ve been there—fork in hand, ego on ice. Breathe. Let’s rescue it so you can serve with confidence.
First, slice against the grain, thin as a postcard. Warm low and slow in foil with beef stock, a splash of apple juice, or pan drippings—steam boosts brisket moisture fast. If edges are jerky-dry, chop them, toss with sauce, and crown sandwiches.
For next time, trust the stall. Use a probe, not hope. Wrap at mahogany color, not a random minute. Aim 200–205°F, then rest, still wrapped, at least an hour. Test doneness by feel, not clock. Adjust cooking methods, honor patience, feed people well.