Envision this: you lift the lid, a glossy bark crackles, and pepper drifts up like campfire perfume—yep, that’s brisket done right, and you can nail it. I’ll show you how to pick the right cut, trim with confidence, and season smart—salt, pepper, maybe a wink of garlic. We’ll beat the stall, wrap at the sweet spot, and rest without panic. You handle the knife, I’ll handle the nerves. Ready to make your oven smell dangerous?
Choosing the Right Brisket: Grades, Cuts, and What to Look For
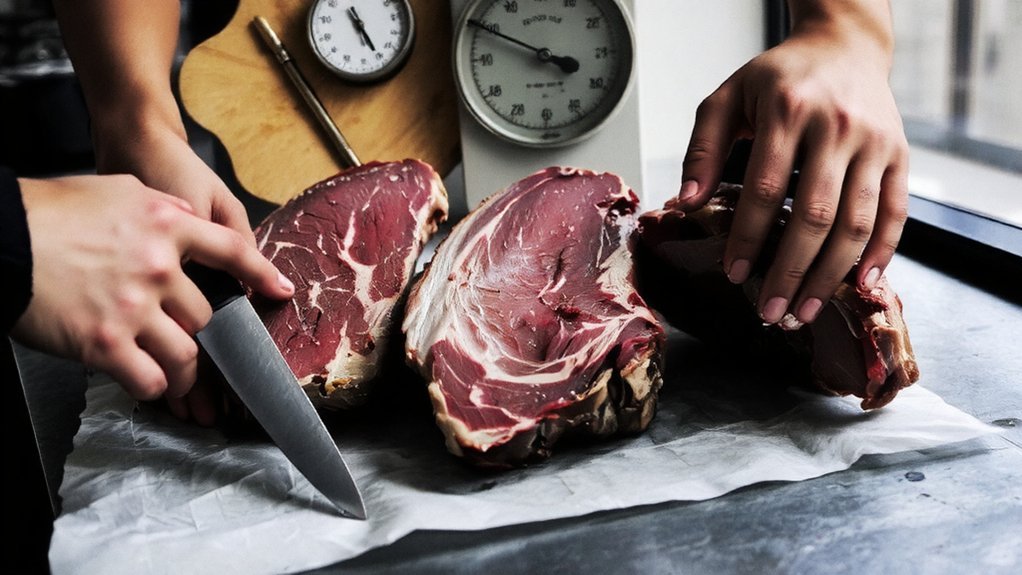
Here’s the truth: a great brisket starts at the butcher counter, not the grill. You’re cooking for people you love, so let’s pick a slab that delivers hugs on a plate. Ask for brisket grades first—Prime if you can swing it, Choice if you want value without tears. More marbling, more smiles. Now, cut varieties: whole packer, point, or flat. I’ll nudge you toward a packer, 12–16 pounds, with a thick, white fat cap and flexible bend—like a good handshake, it should give.
Scan the surface. Tight grain, even thickness, no gray edges. Press the meat, feel it spring. Peek at the point, look for fat pearls, not waxy chunks. Ask the butcher’s opinion. Then nod, grin, and claim your beautiful beast.
Trimming and Simple Seasoning: Salt, Pepper, and Optional Rubs

Before the fire ever kisses that brisket, we tame it. Set it on a board, fat side up, and breathe. You’re cooking for people you care about, so we’ll keep it clean, simple, generous. Use basic trimming techniques: shave hard fat to about a quarter inch, square ragged edges, remove silver skin that won’t melt, and round the corners so they don’t burn. Feels like grooming a linebacker, smells like a butcher shop, and yes, you’re the hero.
Now seasoning options. I go classic: kosher salt and coarse black pepper, a friendly 50/50. Rain it on, all sides, edges too, then press like you mean it. Want a rub? Add paprika, garlic, onion, maybe a whisper of brown sugar. Stop. That’s enough. Let it rest. Carry on.
Low-and-Slow Methods: Oven, Smoker, and Slow Cooker Basics
You get to pick your battlefield—oven for steady, smoker for swagger and smoke-kissed bark, slow cooker for set-it-and-forget-it tenderness—and I’ll nudge you toward the right tool like a helpful, slightly bossy neighbor. We’ll talk temperature targets you can trust, 225–275°F for low-and-slow heat, then the magic internal range where collagen melts, juices glisten, and your kitchen smells like victory. Time’s the rub: plan hours, not minutes, ride the stall with patience, and poke for tenderness like a pro—probe sliding in “butter soft,” you win.
Choosing Your Cooker
Why obsess over which cooker to use? Because you’re feeding people you love, and the right tool makes serving them easy, predictable, and downright joyful. I’ve cooked brisket every which way, and here’s the short tour.
Oven: set-it-and-sip-it. You’ll get steady heat, a cozy roast aroma, and minimal fuss. Wrap tight, let it whisper.
Smoker: flavor fireworks. Wood kisses the meat, you play conductor. Charcoal vs. gas? Charcoal brings deeper smoke and ritual, gas brings convenience and cleaner hands. I won’t judge your manicure.
Electric cookers: plug in, relax. They’re steady, great for apartments, and you can still add wood chunks for personality.
Slow cooker: weeknight hero. Gentle braise, silky slices, grateful guests. Choose the method that fits your crowd, your schedule, and your patience.
Temperature Targets Explained
Tool picked, apron on, now let’s talk numbers—the ones that turn brisket from stubborn shoe leather into butter-on-a-fork. You’re cooking to serve joy, so we’ll keep it steady, generous, predictable.
Oven first: set 250–275°F. Those temperature ranges keep fat rendering, collagen melting, and your kitchen smelling like a hug. Smoker? Aim 225–250°F, clean blue smoke, thin as a whisper. That’s ideal cooking for bark that snaps softly, not shatters. Slow cooker? Low setting, roughly 200–210°F, lid closed, no peeking—steam does the heavy lifting.
Internal temp matters too. Track the heart of the flat with a reliable probe thermometers don’t lie, egos do. Manage vents or oven racks, rotate if edges darken, and keep a small water pan nearby for gentle humidity. You’re not rushing meat—you’re shepherding flavors home.
Timing and Tenderness
Some cuts take their sweet time, and brisket is the diva of the bunch. You don’t rush a diva; you schedule her. So, let’s lock in timing strategies. In the oven, think 275°F, 4–6 hours for a 4–6 pounder, covered, fat side up. In a smoker, 225–250°F, figure 1–1.5 hours per pound, wrap in butcher paper when bark looks like mahogany velvet. Slow cooker? Low for 8–10 hours, lid closed, no peeking.
Now, tenderness tests, the fun part. Probe with a thermometer or skewer; if it slides in like warm butter, you’ve nailed it. Don’t chase the clock, serve the feel. Rest it, wrapped, 30–60 minutes, juices settling like a calm crowd. Slice against the grain, thin, and watch smiles happen.
Timing and Temperatures: Planning Your Cook Without Stress
Even before you trim a single flap of fat, let’s lock in your timeline and target temps so the brisket doesn’t boss you around. You’re cooking to serve people well, so we plan first, flex later. Start with size: figure roughly 60–75 minutes per pound at 225–250°F. That’s your baseline cook time, not a promise, a guardrail. Now temperature control: steady fire, clean smoke, no yo-yo heat. I ride 240°F, because it’s calm, predictable, generous.
Set alarms: one for pit temp, one for internal. Probe the flat and point, aim for even heating. If your pit drifts, adjust vents in tiny nudges, five minutes between tweaks. Stay patient, sip water, smile. You’ve got this, and your guests will taste that calm.
Managing the Stall: Wrapping, Resting, and Moisture Control

When the brisket hits 150–170°F and just…parks there, don’t panic—I call that the stall, and it’s normal, like traffic on a Friday at five. Here’s the plan: practice stall management, not stall suffering. You’ve got two lanes—wrap or wait. If your guests are hungry soon, wrap tight in pink butcher paper for tender bark, or foil for speed, knowing it softens bark a bit. Either way, you’re boosting moisture retention, trapping steam, and nudging the cook forward.
Keep spritzing lightly—apple cider, or broth—just enough to kiss the bark, not drown it. When you’ve cleared the slowdown, pull the brisket, wrap anew, and rest it in a dry cooler, towels tucked like a cozy blanket. Let juices redistribute. You’ll serve slices that sigh.
Doneness Cues: Probing for Tenderness and Internal Temp Targets
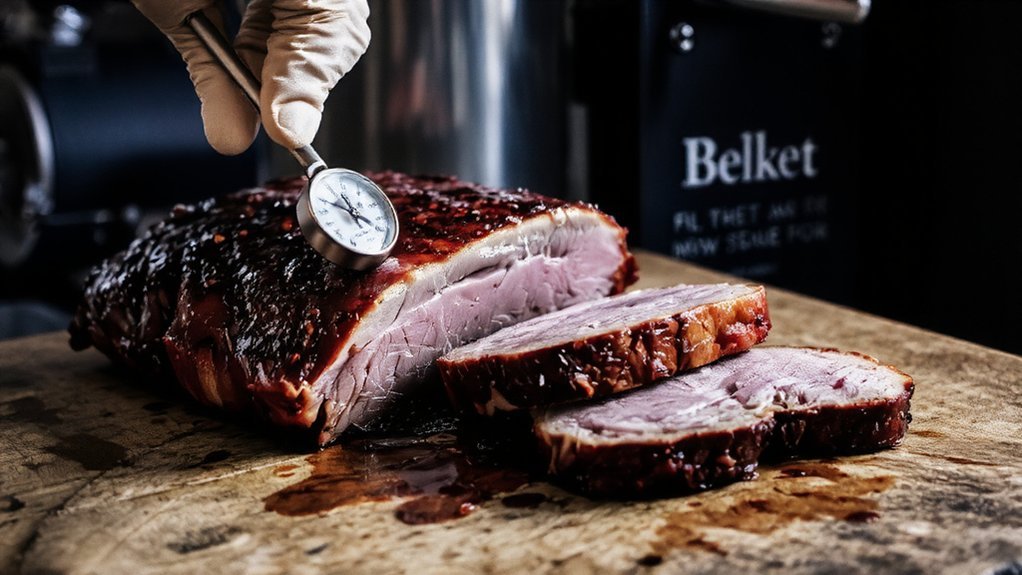
You’ve eased past the stall and tucked that brisket in cozy wraps; now we chase the finish line. Grab your instant‑read thermometer and a thin skewer, we’re going hunting for doneness indicators. Aim for 200–205°F in the thickest flat, but don’t worship the number. Do tenderness testing. Slide the probe in like it’s butter warmed by a choir’s hallelujah. Little to no resistance? You’re close. Tight, squeaky pushback? Keep cooking.
Check multiple spots—point and flat—because brisket’s a moody duo act. Watch for jiggle when you nudge the rack, glossy bark, rendered fat edges that no longer look waxy. If the probe says 198°F yet feels like gravel, wait. If it reads 208°F and glides, celebrate. Your mission: serve comfort, not excuses.
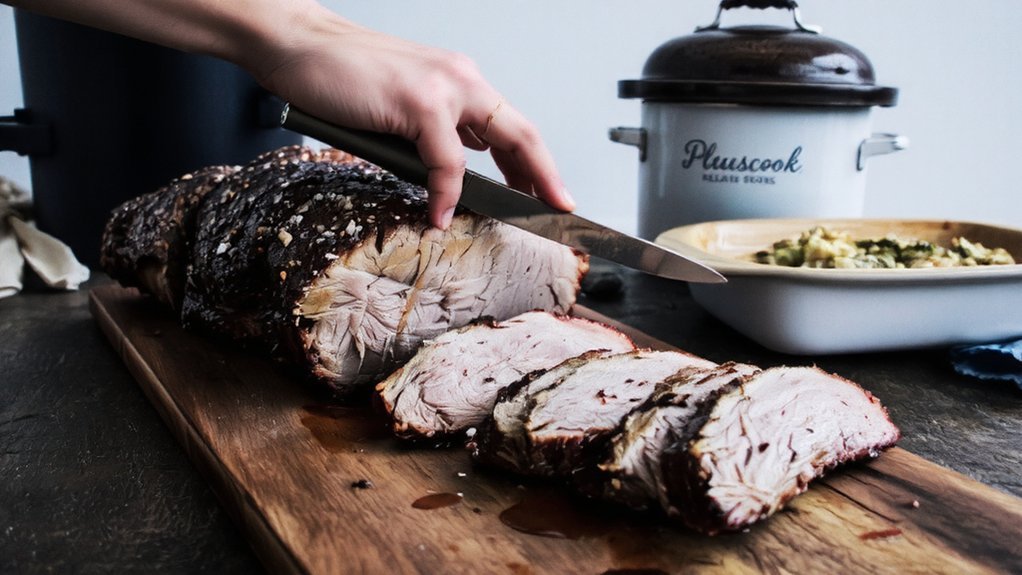
Slicing, Serving, and Saving Leftovers for Maximum Juiciness
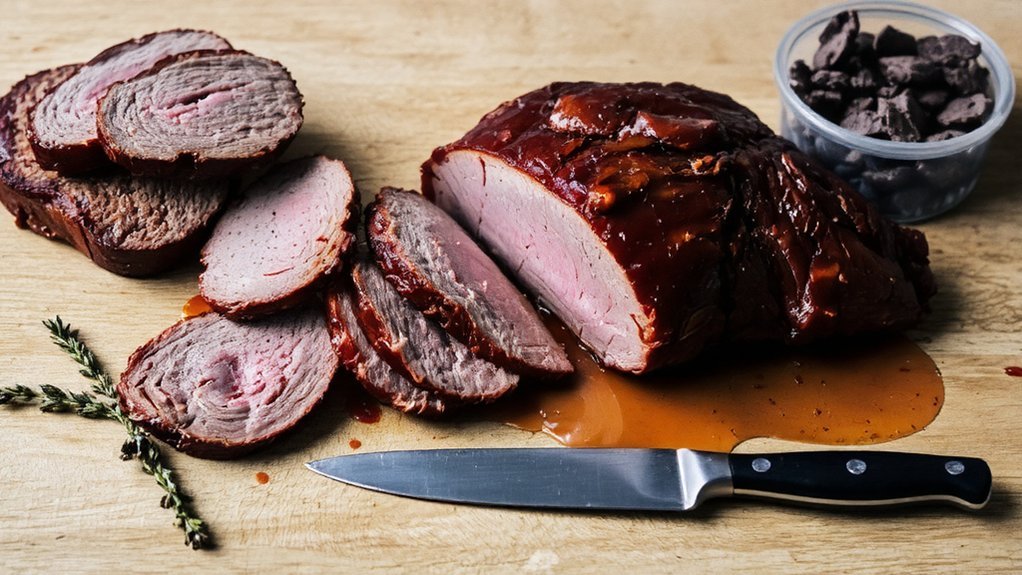
You’ve nailed the cook, now you’ve got to let that beauty rest, then slice it clean, against the grain, like you mean it—thick for juicy bites, thin for sandwiches that don’t crumble. I’ll show you how to keep the flat silky and the point luscious, with a cutting board moat catching those glossy juices, and your knife gliding like it’s buttered. Then we’ll reheat leftovers gently—steam, broth, foil, low heat—so they come back tender, glistening, and not one tragic shred dry.
Resting and Slicing
Although the urge to carve it right now is screaming in your ears, let that brisket rest, like a marathoner catching breath at the finish line. I know, patience isn’t glamorous, but it’s generous. Tent it loosely with foil, park it in a warm spot, and give those juices time to settle. That’s one of the simplest resting techniques, and it keeps every slice ready to bless a plate.
Now, knife time. Find the grain, then turn the brisket so you’re cutting across it, not with it. Short fibers, tender bites, happy guests. Switch slicing angles at the point-flat seam—it changes direction there, sneaky devil. Use long, smooth strokes, wipe the blade often, and aim for pencil-thick slices. Serve promptly, smile big, accept applause, try not to bow.
Reheating Without Drying
If the brisket didn’t vanish on day one (miracle), let’s reheat it so it stays plush, shiny, and sigh-inducing, not sad and jerky-dry. Start with slices, pencil-thick. Lay them in a snug pan, drizzle in beef drippings or broth, cover tight with foil. Low oven, 275°F, 20 minutes, then check. Steam whispers, fat glistens, you smile.
Prefer speed? Use a skillet: medium-low, a spoon of broth, lid on. Flip once, keep it soft. Microwave? Fine, I won’t judge—fan slices, add a splash, cover with a damp towel, short bursts. It works.
For moisture retention, stash leftovers in their juices, vacuum-sealed or zip-top, air pressed out. Best reheating techniques for crowds: sous vide at 150°F, sealed, 45–60 minutes. Tender, juicy, grateful faces.