You want brisket that melts, not sulks, so we’ll start smart: pick a well-marbled packer, clear your station, wash up, and grab a sharp boning knife. I’ll show you how to shave that fat cap to a lean 1/4–1/2 inch, peel off the silver skin, and salt it like you mean it for an overnight dry brine. Smells clean, feels tacky, looks ready. Then we build the rub, fix the shape, and—well, here’s where it gets fun.
Choose the Right Brisket Cut and Grade
Two things matter before you even light the smoker: cut and grade. You’re cooking to serve people well, so start with smart brisket selection. Pick a full packer, not just the flat. You want a thick flat, a generous point, and a fat cap that’s even, about a quarter inch. Feel it. Bend matters. If it flops like a happy dog ear, you’re close.
Now, meat grading. I’ll say it plain: marbling is moisture insurance. Prime sings, Choice hums, Select whispers “bring sauce.” If your budget’s tight, grab high-Choice with good intramuscular fat, those white streaks that melt into magic. Check edges for dryness, avoid rainbow sheens, and press—springy, not mushy. I’ll be honest, I’ve picked duds. You don’t have to. Choose with purpose.
Tools and Setup for Safe, Efficient Prep
Before you even unroll the butcher paper, set your stage like a pro—clean board, sharp chef’s knife, sturdy boning knife, and a reliable instant-read thermometer. I’m not here to judge your drawer of dull blades, but brisket won’t forgive them. Set a roomy prep station with a grippy board that won’t skate, a pan for trimmings, paper towels, and butcher paper within reach. Keep a honing steel nearby; two strokes, you’re back in business.
Pull out a flexible spatula for shifting meat, plus a small bowl for salt and pepper—your essential tools, your tempo. Angle a bright light over the work, so fat gleams and silver skin shows. Apron on, sleeves up. You’re setting the table for everyone else’s good time.
Handling and Cleaning for Food Safety
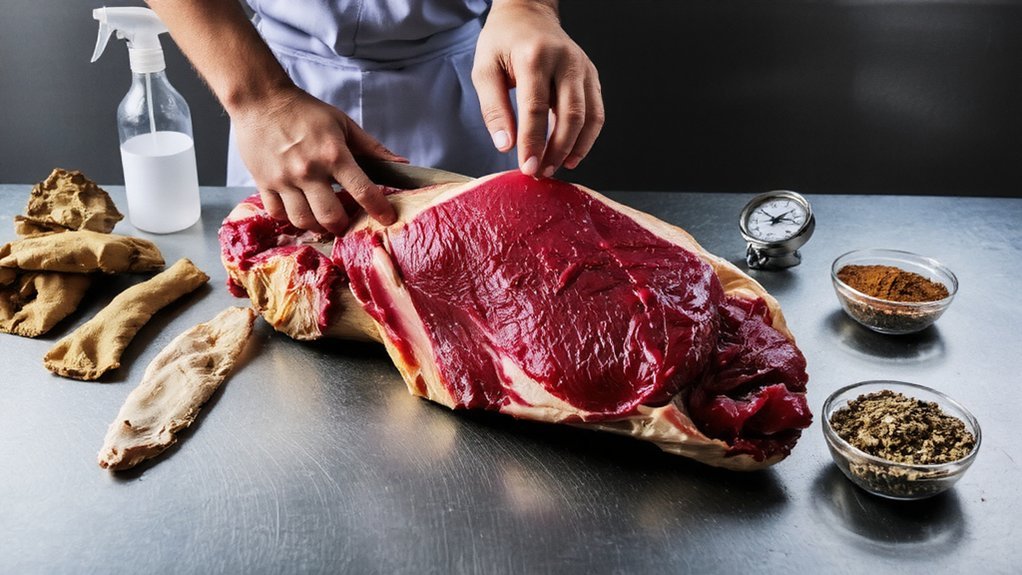
Before you even touch that brisket, keep it cold—below 40°F in the fridge, then move fast once it’s out, like you’ve got a timer ticking. Don’t rinse the meat in the sink (you’ll spray bacteria everywhere), just pat it dry with paper towels till the surface feels tacky, ready for seasoning. Wash your hands, swap out cutting boards, and yes, I see that smirk—sanitize the counter now, thank me later.
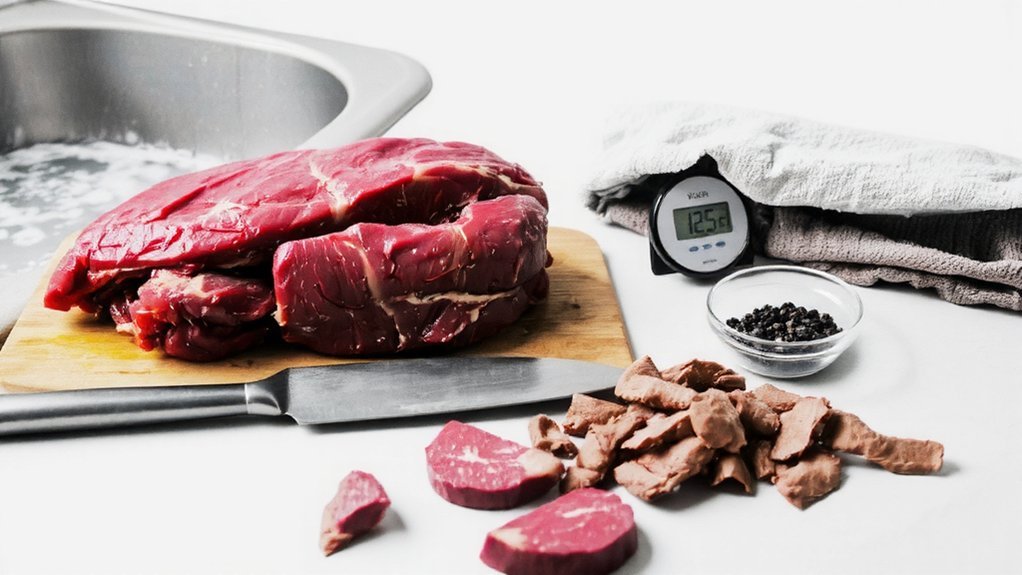
Safe Handling Temperatures
One hard truth about brisket: temperature rules the kingdom, and you ignore it at your peril. You’re cooking to serve people well, so you guard temps like a hawk. Keep raw brisket chilled at 40°F or below, move it fast, and never let it sunbathe on the counter. I use meat thermometers like seatbelts—boring until they save lives. For safe cooking, your target’s 195–205°F for tenderness, but the safety line starts when the meat passes 145°F and keeps climbing. The danger zone, 40–140°F, is where bacteria party. Don’t send invitations.
- Cold brisket, sealed tight, tucked on the bottom fridge shelf.
- Quick prep, clean hands, sanitized board, no wandering off.
- Probe early, check often, trust the thermometer, not vibes.
Rinsing and Drying
Thermometers keep you honest, but your sink and towels can still sabotage dinner, so let’s set the stage right. You don’t need fancy rinsing methods—actually, don’t rinse the brisket at all. Splashing spreads bacteria like gossip at a potluck. Instead, open the package in a clear sink, catch juices with a sheet pan, then toss the wrap. Wash your hands, the faucet, the counter—soap, hot water, 20 seconds, no shortcuts.
Now, drying techniques that serve your guests: pat the surface dry with disposable paper towels, top and fat cap, edges too. Damp meat steams, dry meat crusts—your bark depends on it. Swap towels often, trash them immediately. Finish by sanitizing anything that blinked at raw beef. Breathe. You’ve created a clean, respectful workspace.
Understanding the Fat Cap and Silver Skin
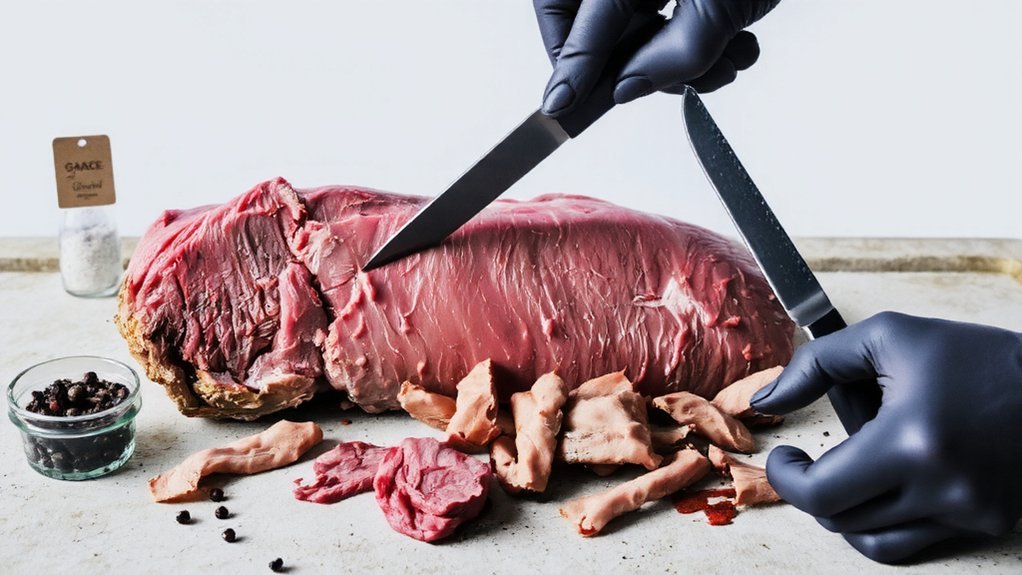
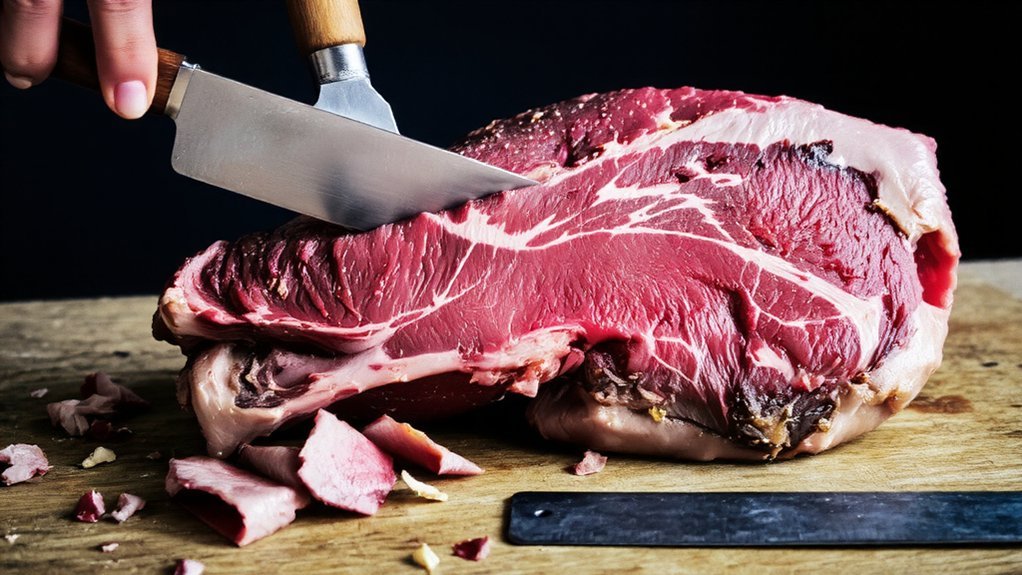
You’ll size up the fat cap first, aiming for a tidy 1/4 to 1/2 inch—enough to baste, not enough to bog you down. Then you’ll hunt the silver skin, that shiny, stubborn sheath, and slip a boning knife under it, shallow angle, smooth strokes, like you’re peeling tape off a new gadget. I’ll cheer you on while you chase those clean edges, because once that tough layer’s gone, flavor and smoke can actually do their job.
Fat Cap Thickness
Two layers guard a brisket like loyal bouncers: the fat cap on top and the slick silver skin underneath. You’re here to manage the fat cap, not bully it. Aim for a tidy 1/4 inch—thick enough to baste, thin enough to render. I use simple trimming techniques: long strokes, shallow angles, steady hands. If your knife feels jumpy, slow down, breathe, reset. You’re cooking for people you care about, so make each pass count.
- Glossy white fat, like candle wax, trims cleanly and smells sweet when warmed.
- Yellow, crumbly patches? Tougher, waxy, trim them lower.
- Thin edges scorch and taste bitter, so even them out.
Flip, assess, trim, repeat. When the surface looks like a smooth winter hill, you’re ready to season.
Removing Silver Skin
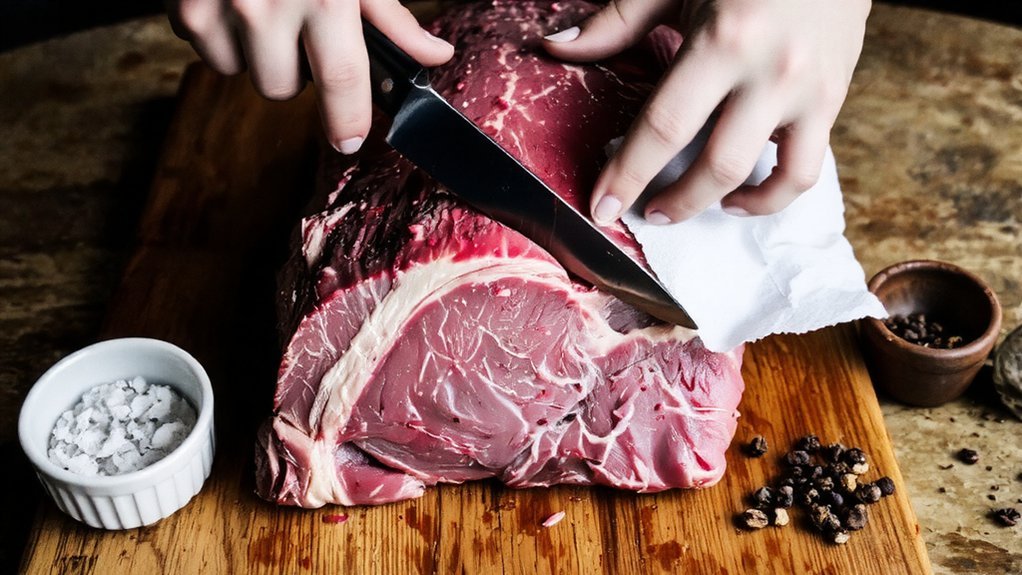
Slide the brisket over, let the light catch that pearly sheath, and meet the silver skin—slick, stubborn, and absolutely not edible. You’re here to serve tenderness, not chew toys, so we’ll do silver skin removal right. I slide a boning knife under a corner, blade almost flat, and lift a small tab, like peeling tape. Short strokes, gentle tension, knife gliding forward while my off-hand pulls back—clean, quiet, satisfying.
Hear that faint squeak? That’s collagen saying goodbye. If you catch red meat, angle lower; if you leave shimmer, angle higher. Switch sides when the grain fights you. Trim the seams, tidy edges, and check the point—sneaky patches hide there. These trimming techniques protect seasoning penetration, smoke flow, and the slice. Your guests? They’ll taste your care.
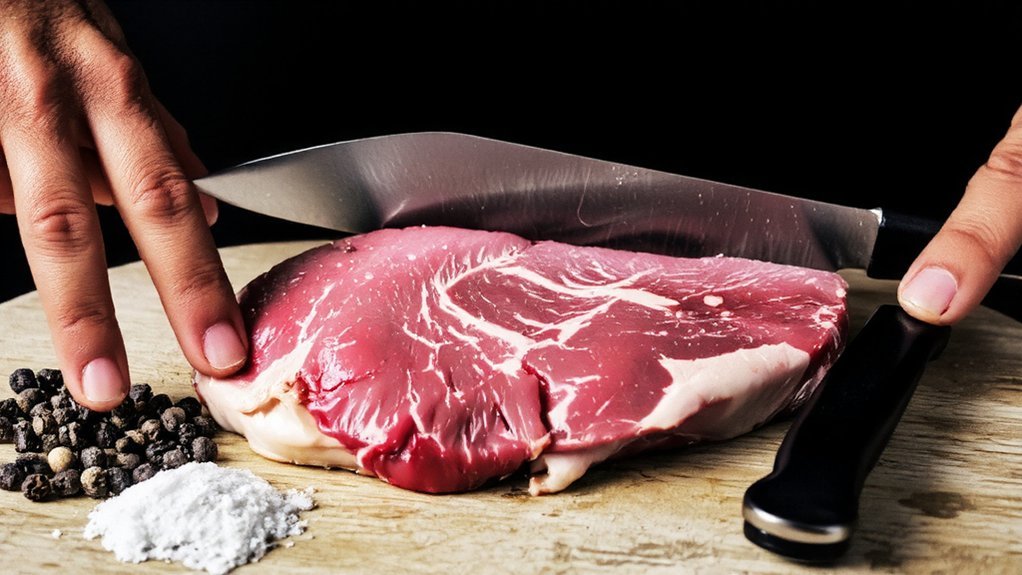
Trimming for Even Thickness and Aerodynamic Shape
While the brisket’s still cold and firm, I square it up like a barber fixing a wild mullet—clean, confident, no mercy for shaggy bits. You’re shaping meat for smooth airflow and even cooking, so let’s talk trimming techniques that honor service and deliver tenderness. I thin bulky ridges, taper the edges, and carve that point-to-flat shift so heat doesn’t stall. Think sleek, not scrawny—maintain a supportive fat cap, about a quarter inch, for protection and flavor.
- A long, sharp slicing knife glides, no sawing, just calm strokes, like you’re ironing a suit for a guest of honor.
- Round blunt corners to streamline the brisket shape, so smoke kisses, not crashes.
- Level high spots; avoid potholes that collect grease and burn.
That’s hospitality in every slice.
Salt Timing and Dry Brining Options
Edges smoothed, fat cap neat—now we talk salt, the quiet boss. You’re feeding people you care about, so let’s make their bites sing. Start with brisket salting that’s simple, even, and a touch bold. Use kosher salt, medium grain, and weigh it if you can—about 0.75 to 1% of the brisket’s weight. Sprinkle from high, like gentle rain, edges and undersides included. Then pause.
Dry brining? Do it. Salt early, 12–24 hours before cooking, uncovered in the fridge. The salt draws out moisture, dissolves, slides back in, and seasons deep, while the surface dries for better bark. Short on time? Even a 60-minute rest helps. Pat any wet spots, don’t rinse, and keep your hands clean. I’ll say it: patience tastes like applause.
Building a Flavorful Rub and Applying It Evenly
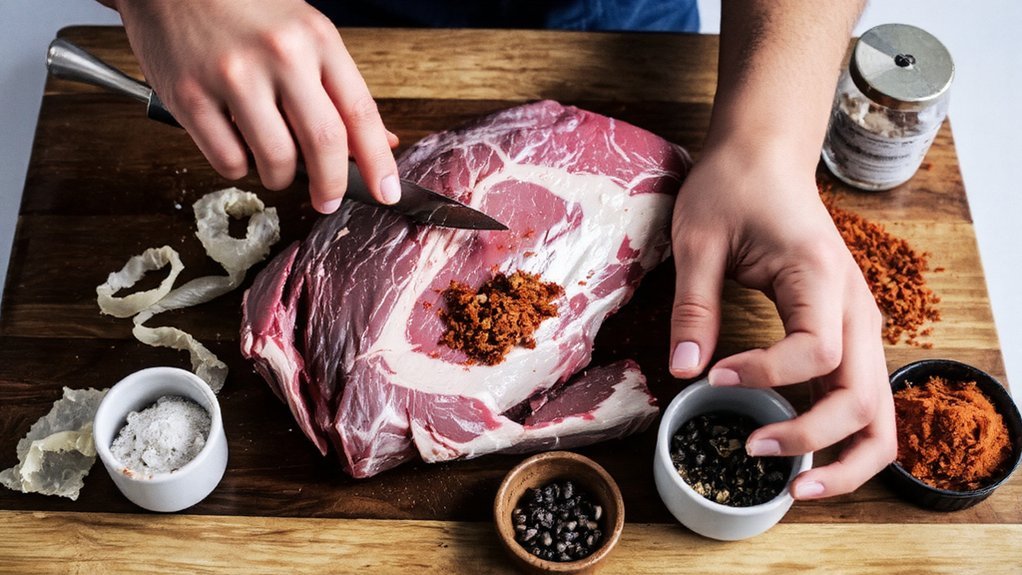
Because salt set the stage, the rub gets to sing lead—big voice, clean lyrics. Now you build flavor profiles that serve your guests, not your ego. Start with equal parts pepper and paprika, then layer garlic, onion, and a warm bass note—cumin or chili. Add a whisper of sugar for bark, not candy. I taste as I mix; you should too. Seasoning techniques matter, so grind fresh, sift lumps, and smell everything.
- Pepper freckles across red paprika, a sunset on beef.
- Your hands glide, brisket turns, edges catch the light.
- The rub clings, dark and fragrant, promising.
Work top to bottom, then flip. Press, don’t rub off. Hit the sides, the seams, the thin cap. Even coverage, no bald spots, no spice avalanches.
Resting the Seasoned Brisket Before Cooking
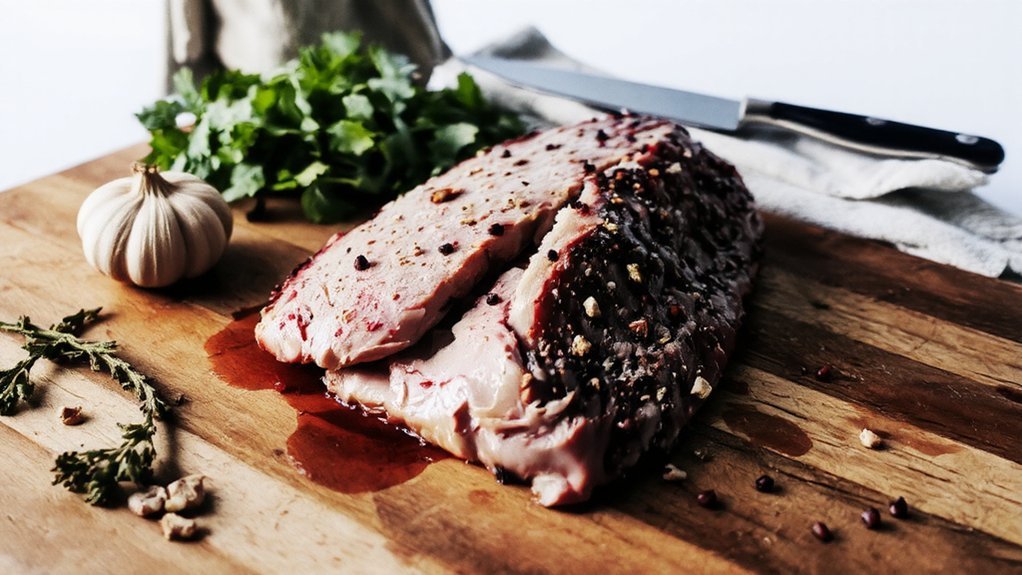
Rub’s on, hands smell like a spice market, and the brisket looks like it dressed up for a smoky date. Now, let it rest. You’re not stalling; you’re letting salt pull moisture, dissolve, and push flavor back in. Aim for a resting duration of 30–60 minutes, uncovered for bark confidence, or loosely tented if your kitchen’s drafty.
Here’s your quick plan:
| Step | Resting Duration | Temperature Control |
|---|---|---|
| Counter rest | 30–45 min | 68–74°F room |
| Tent if dry air | +15 min | Avoid direct fans |
| Move to pit | On schedule | Stable 225–250°F |
Watch the surface. It’ll look tacky, glossy, ready. That tack means adhesion, future crust, applause later. If guests arrive early, breathe, sip water, smile. You’re hosting, not hustling. Patience here makes service sing.