Envision this: your oven hums, the kitchen smells like peppery campfire, and a brisket with a shiny bark lounges on a sheet pan like it pays rent. You don’t need a smoker, just salt, coarse pepper, patience, and a good nap—for the meat, not you, though you’ll earn one. I’ll show you the exact cut, rub, temp, and timing, plus the slice-against-the-grain trick that makes jaws drop. Ready to make neighbors suspicious?
What You’ll Need
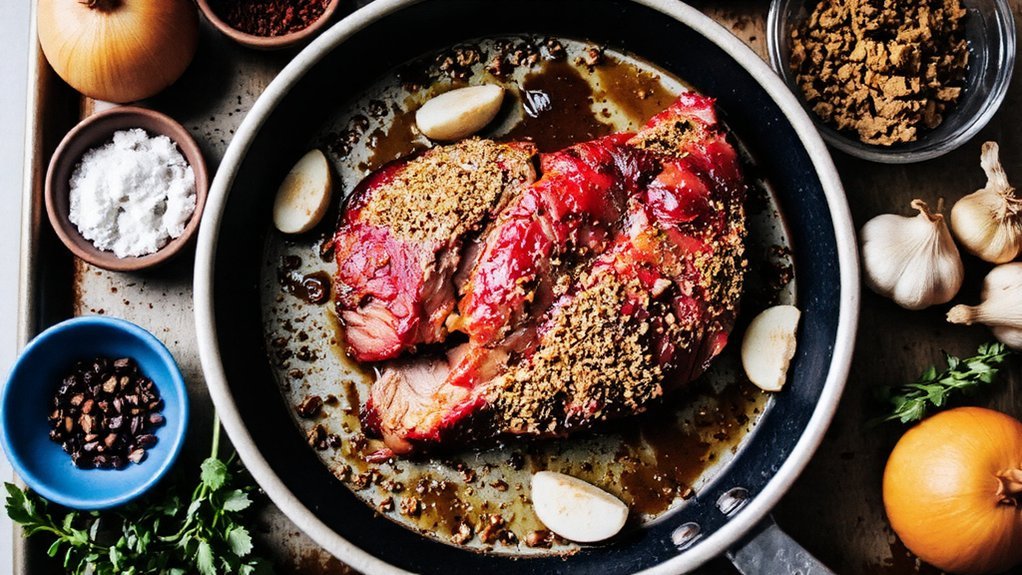
Tools first, glory later. You’re cooking for people you love, so let’s gear up right and make their plates sing. Gather your brisket essentials: a heavy roasting pan with a rack, tight-fitting foil, and a trusty meat thermometer—instant-read, not the one you lost in ’09. Add sharp knives, paper towels, and a cutting board with a groove; juices wander.
Grab cooking tools that make you fast and kind: measuring spoons, a small bowl for spice rub, silicone tongs that won’t shred bark, and oven mitts that actually work. A wire cooling rack helps rest the slab, calm and steamy. Keep kosher salt, coarse pepper, paprika, garlic powder, brown sugar, and beef stock. Finally, patience. It’s invisible, but wow, it serves.
Choosing the Right Brisket Cut
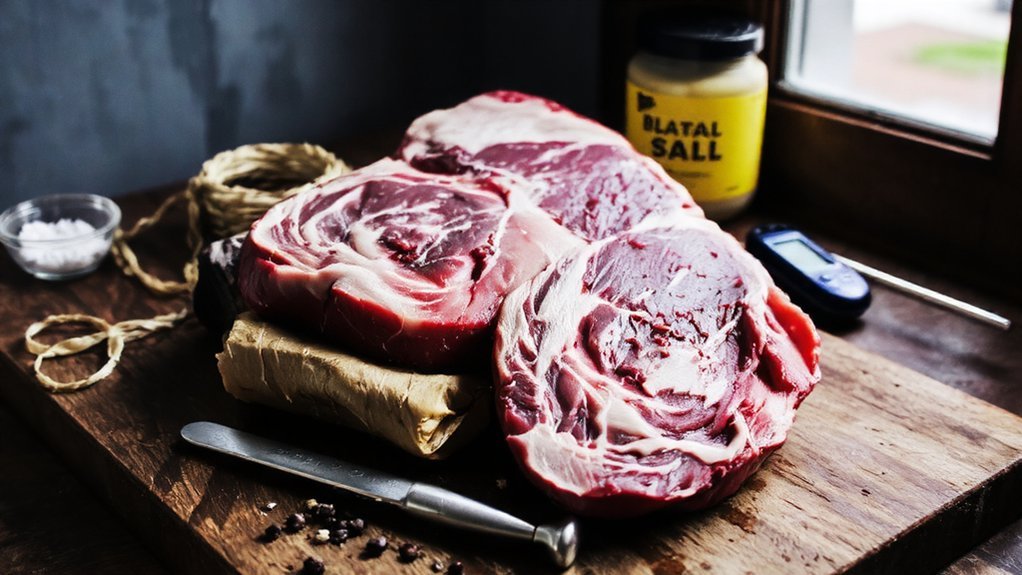
Gear’s on the counter, mitts at the ready—now let’s talk beef, the star of this slow-burning show. You’re choosing between two main cuts: the point and the flat. The point’s thicker, marbled, juicy as a good apology. The flat’s leaner, slices neat for platters, hello church supper. If you’re feeding a crowd, grab a whole packer, point and flat together, balance and options in one hefty bundle.
Check brisket grades: Prime gives generous marbling, melts into tender bites; Choice works great too, just mind your cooking techniques. Look for white fat, flexible bend, and a clean, beefy smell. Aim for 10–14 pounds for even roasting. Trim thick exterior fat to about a quarter inch, square the edges, then breathe—you’ve picked a winner.
Simple Texas-Style Dry Rub
You start with the classic Texas duo: kosher salt and coarse black pepper, heavy enough to coat the brisket like fresh road gravel—crunchy, fragrant, unstoppable. Then, if you want a little swagger, I nudge you toward optional boosters—garlic powder, onion powder, paprika, maybe a whisper of cayenne—just enough to make the crust sing without stealing the show. Rub it on, press it in, and yeah, your kitchen’s about to smell like a smokehouse with manners.
Classic Salt-Pepper Base
Two ingredients, big attitude—that’s the Texas way. You’ll mix coarse kosher salt and 16-mesh black pepper, nothing fancy, just classic seasoning with swagger. I know, it feels too simple. Trust it. Salt releases moisture, pepper adds bite, and together they boost brisket flavor like a choir hitting the note. Grab your brisket, pat it dry, then rain on an even coat, edge to edge, top to bottom. Press, don’t rub. Let it sit while you preheat; generosity needs a minute to settle in.
- Measure with purpose: 1 tablespoon salt and 1 tablespoon pepper per pound, steady and consistent.
- Season both sides and the fat cap, so every slice serves someone well.
- Rest 30 minutes, letting crystals melt, bond, and sing.
Optional Spice Boosters
Salt and pepper set the stage, but sometimes the brisket wants a little swagger in a clean pair of boots. You’re feeding people, not auditioning salt crystals, so let’s add smart flavor enhancements without drowning the beef. Think simple Texas spirit: paprika for color and sweetness, garlic powder for depth, onion powder for cozy diner vibes, a hint of cumin for campfire warmth. I like modest spice combinations—nothing fussy, everything friendly.
Mix 2 parts black pepper, 2 parts kosher salt, 1 paprika, 1 garlic powder, 1 onion powder, 1/2 cumin. Optional kick? A pinch of cayenne, maybe chipotle for smoky heat. Rub it on evenly, edge to edge, press, don’t pat. Smell that? Bold, clean, generous. Your guests will lean in, then ask for seconds.
Step-by-Step Oven Method
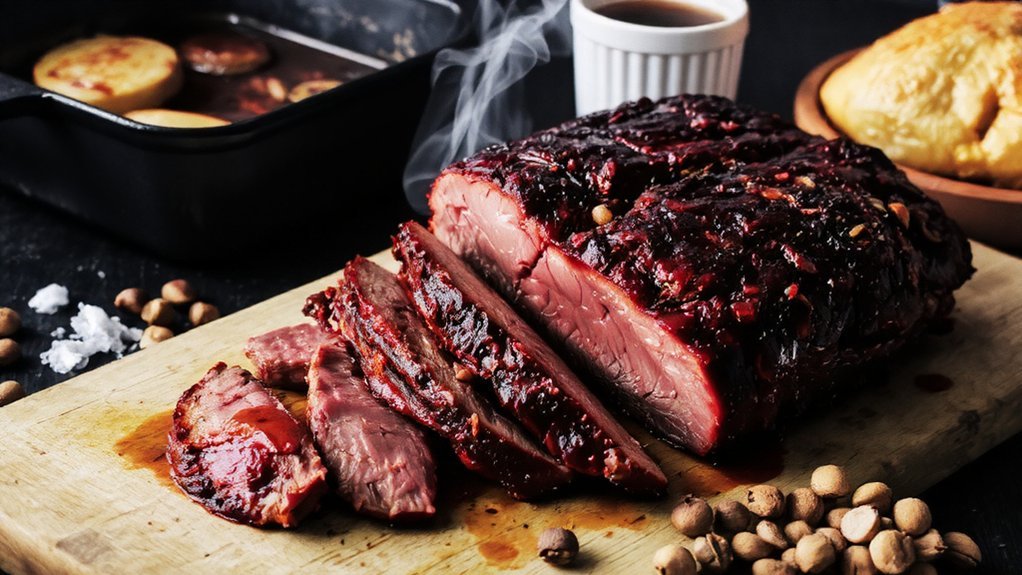
First things first, let’s turn that kitchen into a low-and-slow brisket factory. You’ll start by patting the brisket dry, then massaging your favorite brisket marinades into every nook, like you actually mean it. I like a foil-lined roasting pan, a snug rack, and a splash of broth under the meat for gentle steam. Use smart oven techniques: preheat, position the rack in the lower third, and keep airflow steady. Slip the brisket in, fat cap up, cover tightly with foil, and let the magic happen. When the house smells like a deli had feelings, you’re close. Uncover, baste with pan juices, and let the bark deepen. Rest it, tented, then slice against the grain, thin and generous, because you’re feeding people.
1) Serve hospitality, not just meat.
2) Practice patience; love tastes slow.
3) Clean as you go, care follows through.
Timing, Temperatures, and Doneness
You’re about to lock in the sweet spot: oven temps that coax fat to render, bark to form, and your kitchen to smell like a smokehouse without the smoke. I’ll show you the ranges that work, why low-and-slow wins, and when to bump heat so the bark snaps instead of sulks. Then we’ll talk doneness tests you can trust—probe like butter, jiggle like Jell‑O, juices running clear—because you’re not guessing, you’re gliding.
Optimal Oven Temps
Two numbers rule brisket in the oven: oven temp and internal temp. You want low, steady heat that respects connective tissue, keeps juices shimmering, and boosts oven efficiency. For ideal cooking, set 275°F for a balanced ride—enough heat to render, not enough to bully. I preheat fully, slide the pan in, then leave it alone, like a toddler finally napping. Foil traps steam, fat melts, aromas bloom.
- 1) Choose 250°F for extra-gentle braising vibes, when you’ve got time and guests who savor patience.
- 2) Pick 275°F for weeknight sanity, rich bark, and predictable pacing.
- 3) Go 300°F only if you must, then wrap early, add broth, and watch closely.
Aim for that internal sweet spot, stay consistent, and serve love by the slice.
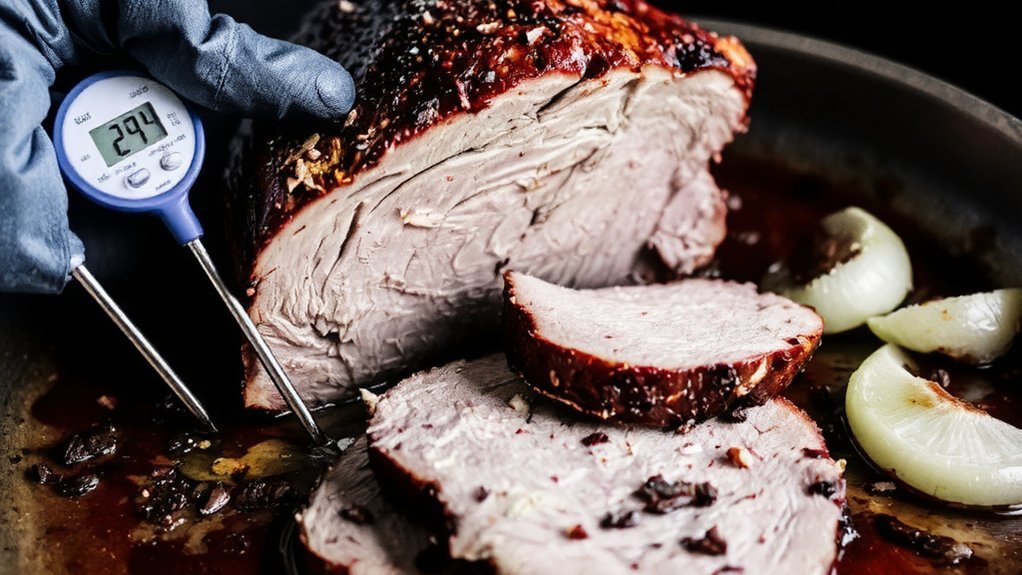
Doneness Tests Explained
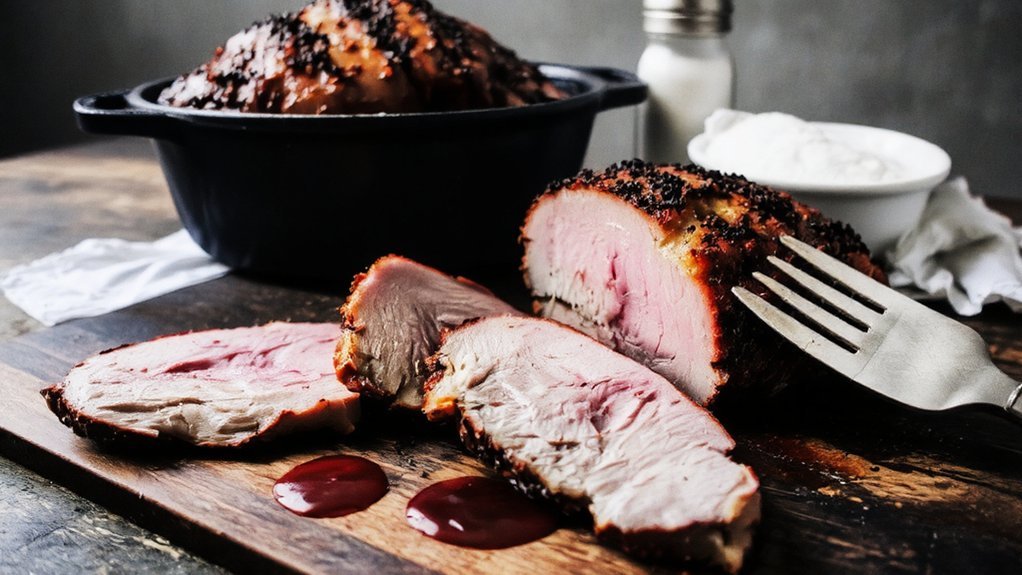
Although the clock tempts you, brisket isn’t done by minutes, it’s done by feel and internal temp. You’re cooking for people you love, so let’s nail this. Slide in a meat thermometer, aim for 200–205°F in the thickest part, not the fat seam. That’s your north star. But numbers aren’t everything.
Poke it with a skewer. If it glides in like warm butter, you’re close to glory. Tug a slice, it should stretch, not snap. Bend the flat, it should droop like a well-behaved necktie. These are your doneness indicators, quiet little yeses.
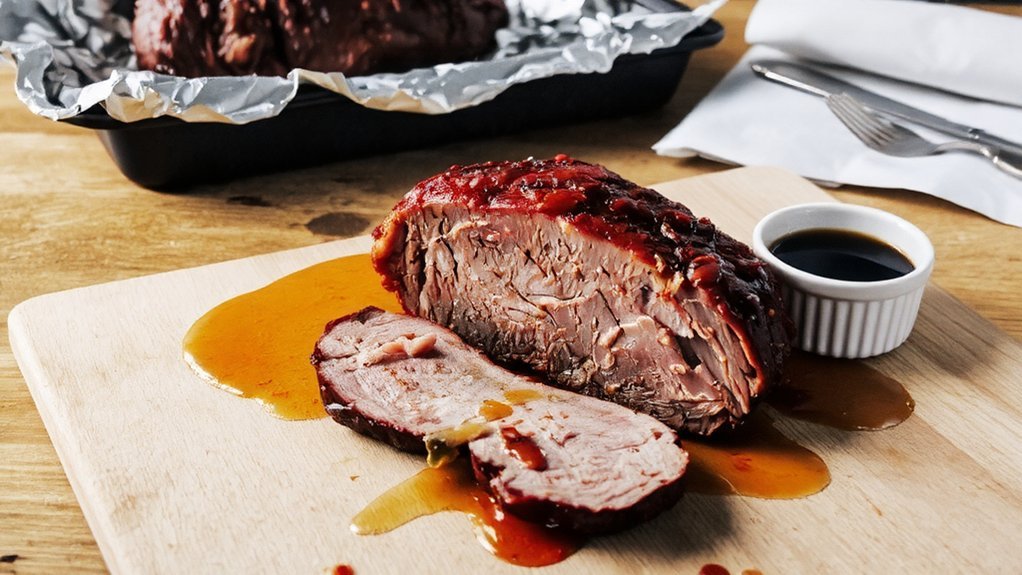
If it’s tight, keep cooking, then rest it, wrapped, 45–90 minutes. Juices redistribute, fibers relax, angels sing. Slice against the grain, thin and kind. Serve with pride, and napkins.
Resting and Slicing for Juicy Results
Before that glorious crust tempts your carving hand, we pause—on purpose. You’ll shelter the brisket, tented loosely with foil, and let those juices calm down. I know, waiting feels like punishment, but it’s service in disguise. Use smart resting techniques: hold 30–60 minutes in a warm spot, cooler if needed, towel-wrapped, still breathing. Your reward? Slices that glisten, not weep.
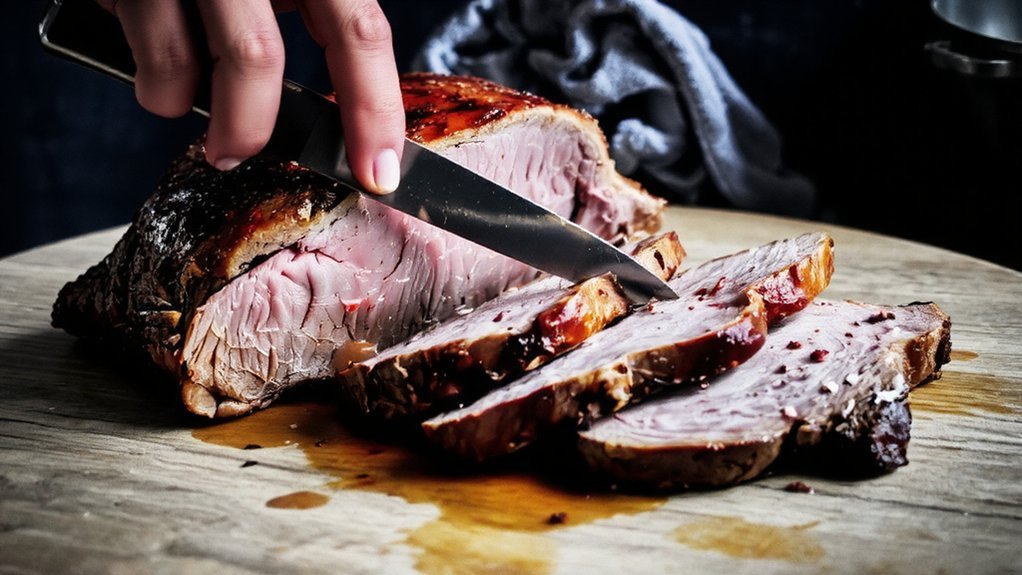
Now, knife up. Find the grain, then pivot where flat meets point—two different directions, two confident slicing methods. Trim excess fat, keep the bark intact, go quarter-inch slices for the flat, thicker for the point. Work clean, wipe the blade, stack slices neatly, like you mean it.
1) Rest to honor effort.
2) Slice to honor texture.
3) Serve to honor people.
Make-Ahead, Reheating, and Serving Tips
If you’re playing the long game, brisket loves a head start, and I’m here for it. For make ahead tips, cook a day early, chill overnight, and let the fat cap lock in moisture. Slice only when cold—thin, across the grain—then bathe the slices in strained pan juices. Label, stack in shallow pans, cover tight. You’ll look like a hero tomorrow.
Reheating methods? Low and slow wins. Add a splash of stock, cover, 275°F oven, 25–35 minutes until slices hit steamy and supple. Or use a covered skillet, medium-low, with a little jus—gentle burbles, not a rolling boil. Serving time, keep it warm in a 150–165°F oven. Offer pickles, soft rolls, sharp knives. Ladle extra jus. Accept compliments, pretend you’re modest.