Like landing a plane in crosswinds, brisket rewards steady hands and small fixes, not hero moves. You’ll pick a hefty packer, trim it clean, salt it smart, then babysit a gentle fire that whispers blue smoke. When the stall hits, you’ll wrap, mutter a pep talk, and trust the probe, not the clock. Rest it till it sighs, slice like a surgeon. Want bark that snaps, fat that shimmers, and slices that melt? Let’s light it.
Choosing and Prepping the Brisket
Brisket basics, let’s talk truth: you’re hunting for a whole packer, 12 to 16 pounds, with a thick, wobbly fat cap and a flexible bend that says “I’m tender waiting to happen.” Pick one with good marbling through the flat—little white rivers running the meat—because that’s your insurance policy against dry, sad slices.
For solid brisket selection, I look at quality factors like grade, thickness across the flat, and that jiggle test. You want even thickness so slices cook consistently, because guests notice the dry corner first. Press the flat, feel a soft spring back, not stiff like a board. Sniff for clean, fresh aroma. Choose bright, cherry-lean meat, creamy fat, no gray edges. Pat it dry, label the point, plan your cook, and smile—you’re feeding people.
Trimming for Proper Render and Bark
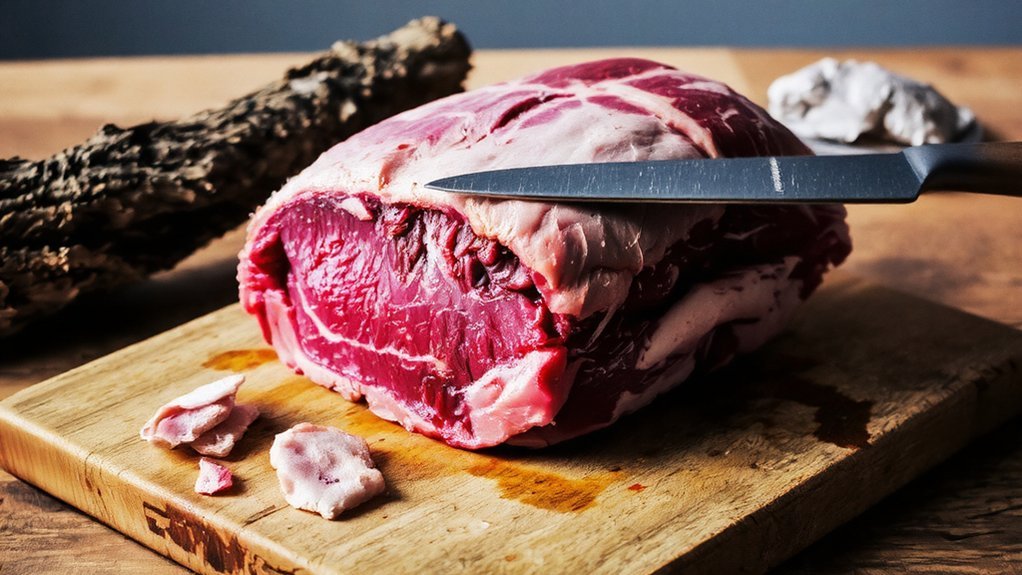
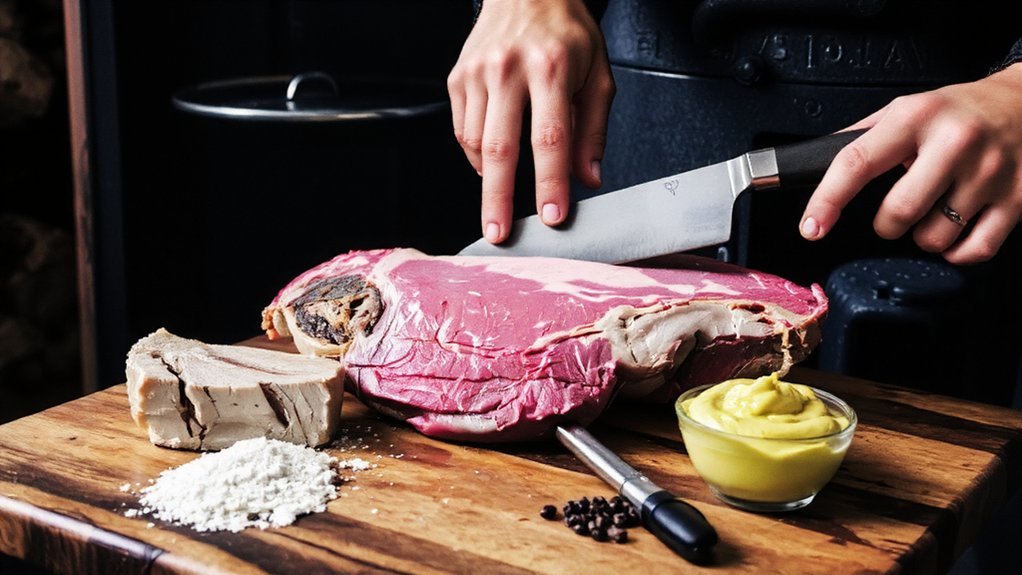
Start by setting the fat cap to about a quarter inch—thin enough to render, thick enough to baste—because you want buttery drip, not waxy armor. Next, square the edges so they don’t burn into bitter chips; I’ll say it, neat corners cook prettier, and you’ll taste the difference. Finally, slide your knife under that silver skin and peel it off clean, because bark needs meat to grip, not a slick, shiny raincoat.
Fat Cap Thickness
A sharp knife, a cool head, and a brisket that looks like it needs a haircut—that’s your scene. You’re here to bless people with slices that sing, so let’s talk fat cap importance and, yes, fat cap management. Trim to about 1/4 inch. That sweet spot protects the meat, renders into buttery drippings, and builds bark that snaps. Too thick, and you’ll steam the crust. Too thin, and the surface dries, mercy gone.
Here’s your quick guide:
| Target | Why It Matters |
|---|---|
| 1/4 inch | Balanced render, crisp bark |
| 3/8 inch | Slower render, risk of rubber |
| Bare spots | Dry patches, bitter rub |
| Smooth, even | Predictable cook, even bark |
| Pliable fat | Renders clean, no waxy chew |
Turn, feel, trim, breathe. Then smile—service starts here.
Edge and Silver Skin
Knifework is where the brisket starts trusting you. You’ll start with edge trimming, shaping the slab so smoke flows clean, bark forms evenly, and slices look like you meant it. I chase clean lines, square off thin wisps that’ll burn, then smooth hard knobs that won’t render. For silver skin removal, slide the knife flat under that shiny membrane, tug it tight, and shave it off in long, patient pulls. It’s not glamour, it’s service—so your guests get tender bites, not chewy surprises.
- Trim edges to even thickness, protecting moisture and promoting uniform bark.
- Remove silver skin to let salt, pepper, and heat actually penetrate.
- Knock down hard fat ridges; keep marble, lose armor.
- Shape for slicing, plan portions, serve beautiful plates.
Seasoning and Rub Strategies
You’re about to balance salt and spice like a DJ with good taste—enough salt to wake the beef, just enough heat to keep you honest. Next, choose your path: a thin binder for tacky grip (mustard, oil), or straight dry rub so the crust forms rugged and proud—I won’t judge, I’ll just nod like I meant it all along. Then let it rest, 20–60 minutes on the counter or overnight in the fridge, so the rub hydrates, aromas bloom, and that brisket smells like trouble in the best way.
Salt-To-Spice Balance
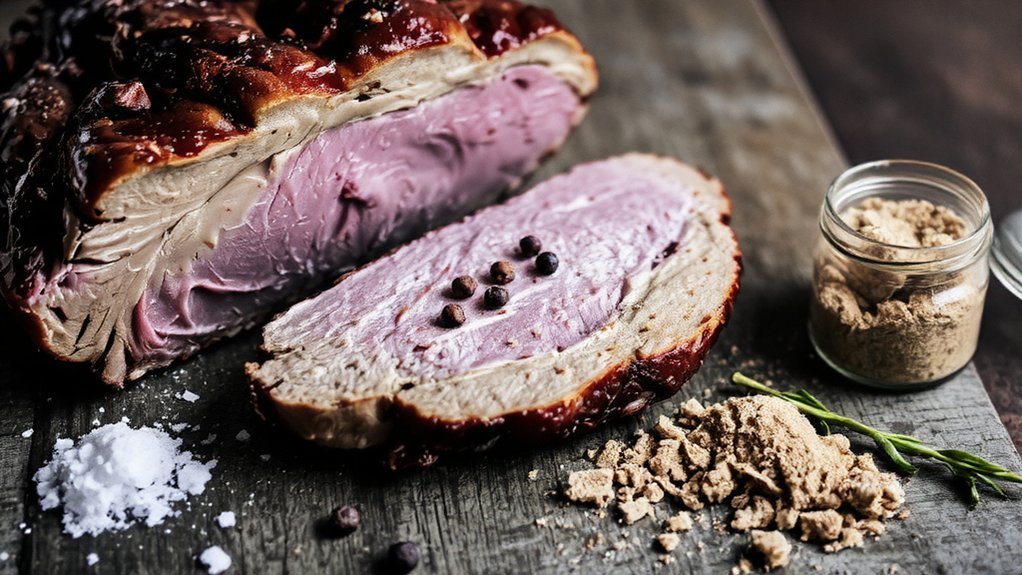
Even though brisket feels like a spice playground, salt is still the boss, and everything else plays rhythm section. You’re feeding people, not proving a theorem, so start simple and build. I lean on coarse kosher for even coverage and clean flavor, then let pepper, garlic, and a few bold spice options sing harmony. Different salt types bite differently—flake reads gentle, fine goes aggressive—so match grain to your crowd and timeline. Taste your blend dry, pinch on your tongue, adjust like you care. Because you do.
- Choose salt types with purpose: coarse for control, flake for finesse.
- Anchor with 1–1.25% salt by meat weight.
- Layer spice options lightly; let beef lead.
- Test a hot slice, tweak for your guests.
Binder vs. Dry Rub
While the fire warms and the brisket sweats on the counter, let’s settle the saucy question: binder or straight dry rub? You’re cooking for people you love, so choose the path that helps you serve confidently. Here’s the play.
Binder types first: a whisper of yellow mustard, neutral oil, or beef tallow. They don’t flavor much; they just glue on the seasoning and encourage even bark. Mustard spreads thin, oil shines on lean flats, tallow hugs trimmed edges like a weighted blanket.
Or go with dry rubs alone. Pat the surface dry, then rain on salt, pepper, and your spice blend, firm and even. No slip, no goo, pure crust potential. I like binders for windy cooks, dry rubs for steady days. Your pit, your call.
Resting After Seasoning
Binder sorted, rub on, hands a little sticky—now let the brisket sit and make friends with its seasoning. You’re not slacking; you’re setting up flavor to serve your crew well. During the resting period, salt pulls moisture to the surface, makes a savory paste, then the meat drinks it back in. That’s seasoning absorption, and yes, it’s worth the wait.
- Give it 30–90 minutes, uncovered on a rack, fridge or cool counter, so air dries the bark-to-be, and the rub settles like it owns the place.
- Watch for a slight sheen, not puddles; dab excess, keep the crust tidy.
- Don’t re-rub; resist. Overworking muddies texture.
- Right before the smoker, quick pat-down, deep breath—“Let’s feed people”—then straight to the heat.
Fire Setup and Temperature Control
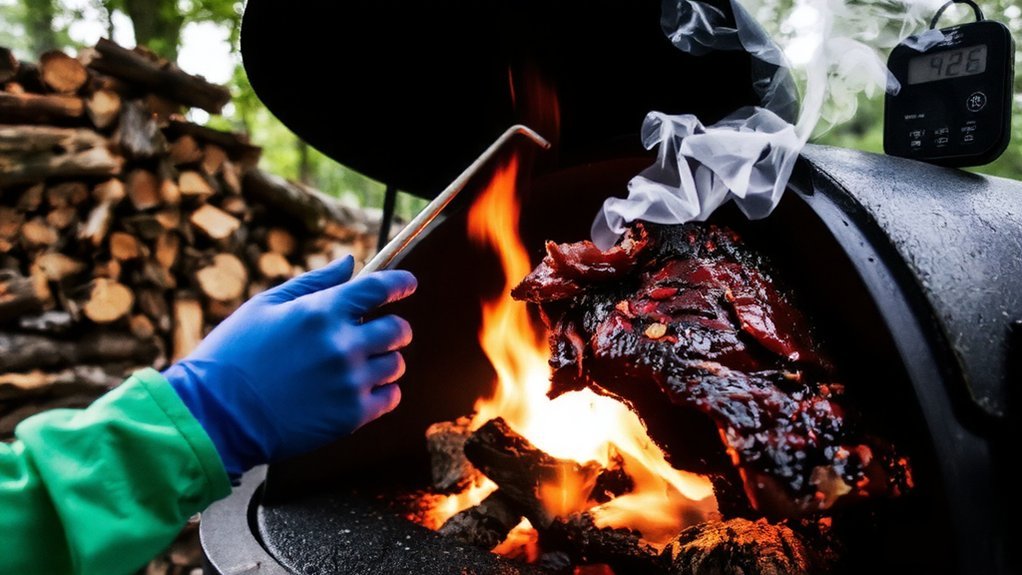
Because great brisket starts with steady heat, we’ll build a fire that’s calm, clean, and predictable. Set up your pit like you’re hosting guests: tidy, intentional, generous. Use a full chimney of lit charcoal to spark confidence, then add seasoned wood chunks, not damp logs. You want blue, whisper-thin smoke, not a white fog bank.
Now the craft: fire management. Keep vents wide to start, then trim airflow until the cooker settles at 250–265°F. I trust you, but I still love temperature monitoring—dual probes, grate level, not lid level. Stir ash gently, clear it if airflow chokes, add a single chunk at a time. Short bursts, no bonfires.
Stand nearby, sip something kind, mind the flame, serve the moment.
Smoking, Wrapping, and Beating the Stall
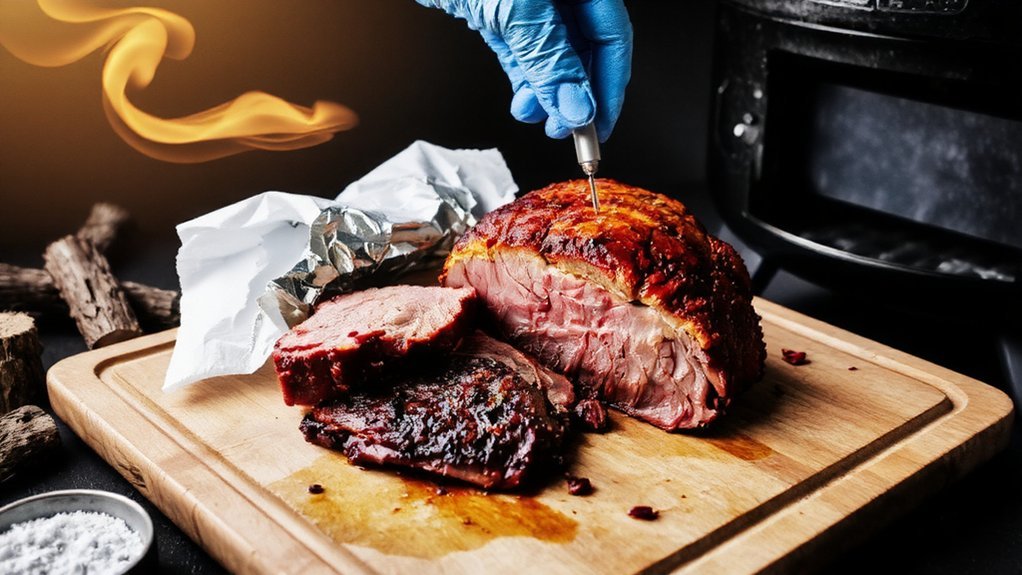
Even after the fire settles, the real cook starts now—me, you, and a hunk of stubborn beef riding a slow wave of smoke. Keep clean blue smoke kissing the bark; that’s good manners on a plate. Use steady temperature management, 250–265°F, and trust your probe more than your ego. For wood selection, mix post oak with a wink of cherry—sweet nose, deep color, balanced heat.
Watch the stall creep in around 155–170°F, like a polite guest who won’t leave. You’ll beat it with smart wrapping methods—peach paper for bite, foil for speed, both for moisture retention. Spritz lightly, don’t drown it. Keep vents honest, fire tidy, and your purpose clear: cook it right, feed them well.
- Practice smoking techniques, not shortcuts.
- Choose wood with intention, serve with care.
- Use stall solutions, stay calm, stay kind.
- Wrap wisely, guard moisture, honor the bark.
Resting, Slicing, and Serving Tips
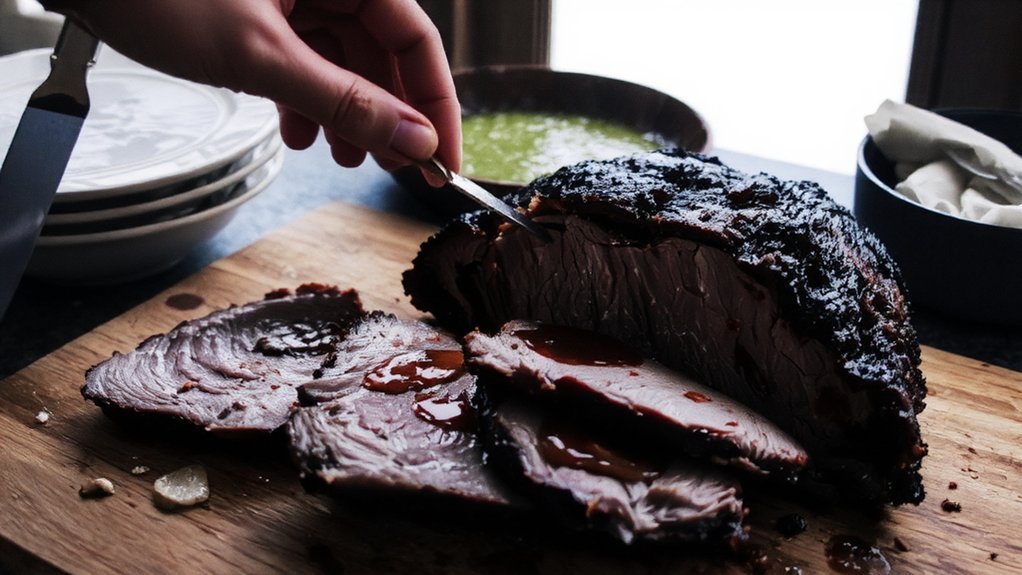
Smoke’s kissed the bark, wrap’s done its job, and your probe says we’re home—now don’t ruin it with hurry. Vent the brisket five minutes, then rest it, still wrapped, in a dry cooler or warm oven for an hour, maybe two. Juices redistribute, collagen chills out, you look like a hero.
Set the board. Separate point from flat. Slice the flat across the grain, pencil-thick, clean strokes. Turn the point, slice thicker, let those burnt ends shine. I’ll hover like a lifeguard, you plate like a pro.
Here’s a fast cheat sheet with serving suggestions and presentation ideas:
| Step | Action | Why it matters |
|---|---|---|
| Rest | 60–120 min | Juicy, sliceable |
| Slice | Across grain | Tender bites |
| Serve | Warm plates | Heat holds, smiles grow |