Like a slow sunrise over a quiet kitchen, your brisket journey starts with choosing the right cut, trimming it smart, and seasoning like you mean it. You’ll set up a sturdy pan, slide in a rack, splash a little liquid, and tuck a thermometer in like a secret. Low and slow does the rest, until it jiggles like Jell-O and smells like victory. Ready to nail the wrap, the rest, and the slice that makes guests hush?
Choose the Right Brisket: Point vs. Flat, Sizing, and Marbling
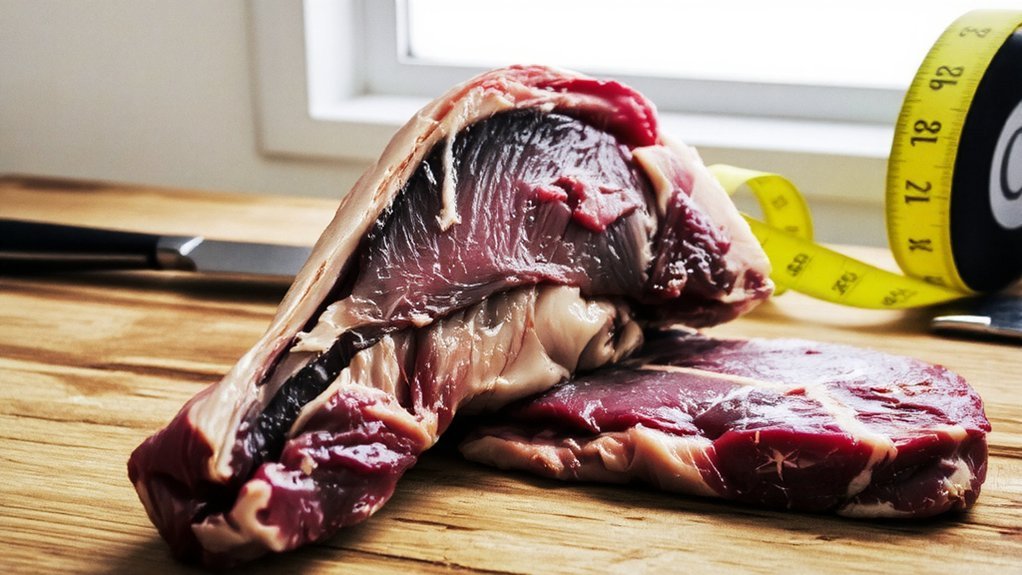
Confession: brisket has personalities, and you’ve gotta pick the right one for the job. You’re feeding people, so start with purpose. For lean slices that hold shape on a platter, choose the flat. It’s tidy, uniform, easy to carve, great for sandwiches. For juicy, indulgent bites that make eyes close at the table, grab the point. It’s richer, fattier, a little wild, and deeply forgiving.
Now, brisket types matter less than marbling importance. Look for fine white lines threading the meat, not big waxy slabs. Those lines melt, baste, and whisper flavor. Sizing? Plan a pound per guest, more if you want leftovers, which you do. Aim for a whole packer when you can—it cooks evenly, offers options, and keeps your timeline sane.
Trim and Season: Fat Cap, Rub Ratios, and Resting Before the Oven

You picked your brisket’s personality, now give it a haircut and a suit. Start with fat trimming: leave a clean 1/4 inch fat cap, smooth, even, no jagged ledges. I like to square the edges, too—tidy meat cooks kinder. Now, let’s dress it. Use simple, bold seasoning techniques: kosher salt, cracked pepper, garlic, maybe paprika for color. Think balance, not glitter.
Trim tidy, square edges, then dress simply: salt, pepper, garlic—balance over glitter.
1) Rub ratio: 1 tablespoon salt per 2 pounds, equal pepper, half garlic.
2) Add-ons: paprika, onion powder, a whisper of cayenne—just enough to wake taste buds.
3) Binder: a light swipe of mustard or oil, nothing gloopy.
Massage the rub, press it in, don’t sand it off. Rest, uncovered, in the fridge 8–24 hours. The surface dries, flavors marry, you serve joy.
Set Up the Pan: Rack, Liquid Options, Foil vs. Uncovered, and Thermometer Placement
Hardware first, flavor second, drama never. Grab a sturdy roasting pan—heavy steel or enameled—then set a rack inside so heat circulates and fat drips. Different pan types matter: high sides corral juices, low sides boost browning. Pour in a shallow moat, about 1 cup, to perfume, not poach. Pick smart liquid choices: beef stock, coffee, cider, or water with Worcestershire. You’re cooking for comfort, so keep it neat, kind, predictable.
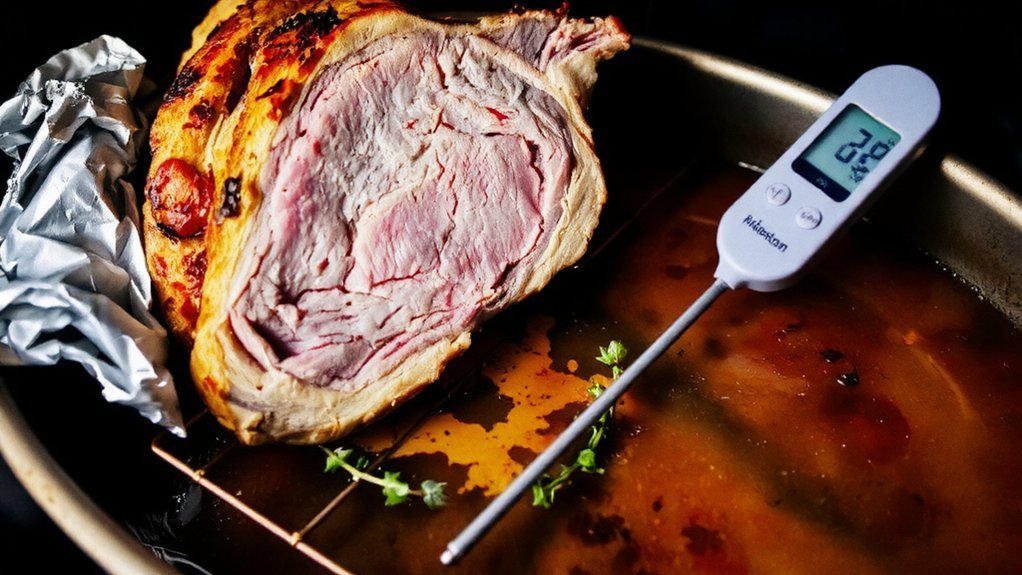
Foil vs. uncovered? Start uncovered for color, then tent lightly if edges darken. Don’t seal it tight; steam dulls bark. For the thermometer, slide the probe horizontally into the thickest flat, avoiding fat seams.
| Pan Types | Liquid Choices | Cover Strategy |
|---|---|---|
| — | — | — |
| Roaster w/rack | Stock + Worcestershire | Start open |
| Dutch oven (lid off) | Coffee | Tent if dark |
| Sheet pan + rack | Apple cider | Vent corners |
| Disposable foil pan + rack | Water | Avoid tight seal |
Low-and-Slow Roasting: Exact Temps, Time per Pound, and When to Wrap
If patience had a scent, it’d be brisket at 275°F, slow-breathing and getting swagger. You’ll nail this with steady temperature control and calm confidence. Slide the pan in, fat cap up, and let the oven hum. Target 275°F for most ovens; plan 60–75 minutes per pound for full packers, 45–60 for trimmed flats. Start unwrapped to build color and aroma that make neighbors suspicious.
Brisket at 275°F: steady heat, fat cap up, patience turning aroma into swagger.
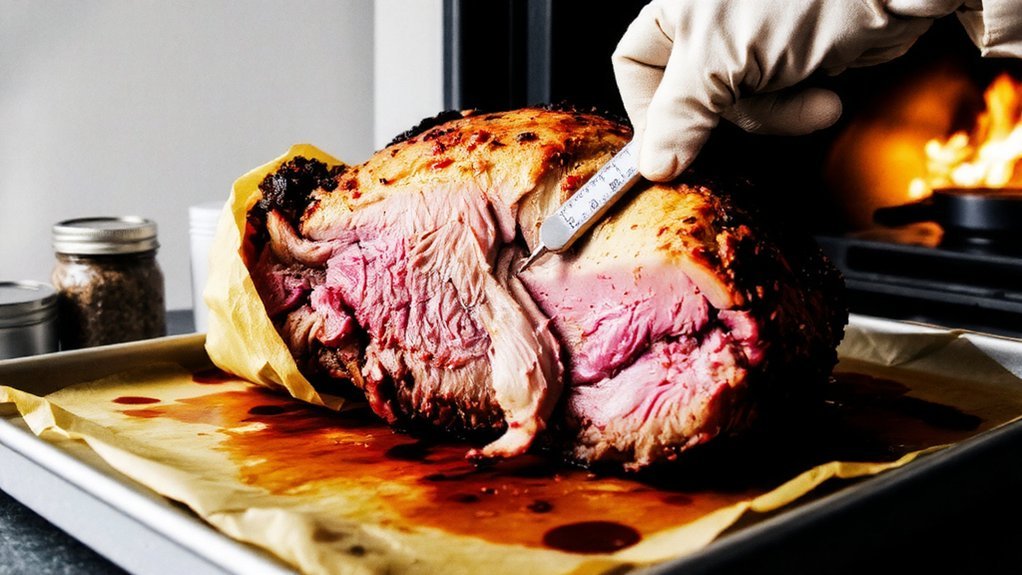
1) Watch the stall: at 160–170°F internal, moisture evaporates and slows you down. Breathe. It’s normal.
2) Wrap when bark looks set—mahogany, slightly tacky, not flaky. Foil speeds cooking times; butcher paper protects texture.
3) Resume at 275°F until probe slides like warm butter, usually 200–205°F internal.
You’re cooking with purpose, feeding people well, and it shows.
Rest, Slice, and Serve: Bark Preservation, Grain Direction, and Make-Ahead Tips
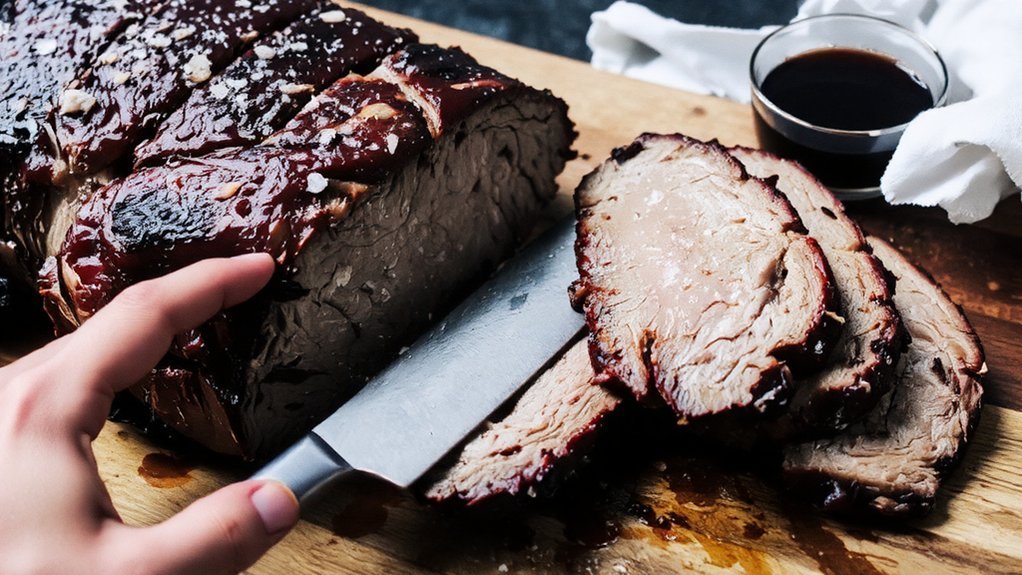
Once that brisket hits buttery-tender, the real flex starts: the rest. Slide it, still wrapped, into a dry cooler or warm oven (170°F off, door cracked) for 45–120 minutes. Juices redistribute, nerves calm, applause builds. Bark preservation techniques matter now: keep the wrap loose, vent steam for five minutes, then tent with foil, not tight—you’re guarding crunch like crown jewels.
Time to slice. Identify the seam where point meets flat, separate if needed. Turn the flat so the fibers run left-to-right; that’s your grain direction importance. Slice across the grain, pencil-thick, then cube the point for burnt-end heaven.
Make ahead strategies: chill whole, uncut, then reheat wrapped with a splash of broth. Serving suggestions: platter with pickles, warm tortillas, tangy slaw, big smiles.